
Field Guide: Teachers
As a teacher, you already have so much on your plate. Basecamp keeps you organized without adding more work.
In this guide, we’ll share an example of how you can use Basecamp with your students.
Jump to:
- Getting started with your projects
- Working with students
- Managing work
- Schedules and materials
- Staying on top of everything
Getting started with your projects
Everything in Basecamp is organized into projects that you can customize to fit your needs. You might create group projects for a class or keep a private space for your own planning.
Here’s an example of what a project shared with students might look like:

Every class has different needs, so you can choose the tools that work best for you. Our example above uses the following tools:
- Message Board to share class-wide announcements.
- To-Do lists for Homework.
- Two different Calendars — one for due dates and the other for office hours.
- Chat for student discussions.
- Docs and Files for class resources.
- Automatic Check-in questions to make sure everyone is feeling good about this week's lessons.
- External Links to share resources saved on another service.
If you find yourself using the same setup over and over again, consider creating a project template.
💡 Tip: Create templates for your To-Do lists to reuse in different projects.
Working with students
After you've set up your projects in Basecamp, it's time to add your students.
Here are a few other things you may want to note when adding students:
- If you don’t want students to create projects in your account, consider adding them as an Outside collaborator or Client. Outside collaborators can see everything posted in a project, while Clients will only be able to see what you want them to see. More on that here.
- You can always change your students' user types from client to non-client and vice versa. You'll just follow this guide.
- Students can send Pings to anyone they share a project with. It’s not currently possible to turn this feature off, but you can let students know that you can export their conversations and read them entirely at any time. They should use their own private channels to talk with friends, or use the Chat within their Basecamp project to talk to their peers about schoolwork.
🗒️ Note: We take the privacy of your data very seriously. We don’t ever sell it and we don’t put ads in our product. Read the Customer Bill of Rights here and our Privacy Policy here.
The Message Board is a great tool to use when you’re working with your students. This is where you’ll want to post announcements or any important information you’d like your students to know. You may already have a few posted before your students log in.
In our example, there's a pinned message welcoming the students:

💡 Tip: Bring attention to any message by pinning it to the top of the Message Board.
Chat is another tool you’ll likely use in projects with students. This is where you and your student(s) can ask questions, share links, and chat casually about the project you're all a part of.

Boosts offer a quick and easy way to engage students. You can ask them to boost what you’ve posted to tell you that they’ve read and understood something. Sometimes you need a quick opinion instead of a bunch of comments. Boosts fit that need perfectly.
Here’s an example of how the Fist to Five method — just one technique for quickly getting feedback or gauging consensus — can be used in Basecamp:

And here’s an example of how you can ask students to use an emoji to demonstrate comprehension and read receipt:

💡 Tip: Choose from the full emoji menu by pressing control + command + space on a Mac or Windows key + . on Windows or Linux.
Managing work
Basecamp has two tools you and your students can use to manage assignments — To-Do lists and Card Tables.
To-Dos are best for tasks that can be completed in one step and are useful for tracking assignments and other work.
In the example, we’ve renamed the To-Do tool to “Homework.” Students won’t be marking these as complete here, but they can see what will be expected and they can also copy the To-Do lists to their own project within the account (if they’ve created one!).

💡 Tip: Visualize your To-Dos with Hill Charts 👀
The Card Table is especially helpful for any work that moves through multiple steps or stages. This isn't being used in the example project with students, but it'll work well in a separate project without students to track their progress reports:

💡 Tip: To keep a project private, don't add any other users to it. Note that account owners can add themselves to any project in the account from the Access any project page in Adminland.
Schedules and materials
Along with assignments, you’ll be managing timelines and sharing materials your students need to do their work.
The project's Calendar will pull in all dated assignments from the project, and you’ll have the option to also add events. You can even set it up so the project has two Calendars — one for just dated assignments and another that shows only events.
In the example, we’ve renamed one Calendar “Due Dates” for dated assignments and the second "Office Hours" — students use the latter to schedule a time to meet with the teacher.

You can also view Calendars from all your projects from the Basecamp menu or press 2 from anywhere in Basecamp.
The Docs & Files tool is where you'll keep all the documents you've created and files you've uploaded for your students. You can also embed a video to a document you've created:

Sometimes, you’ll want to link to another service that’s related to the project. When that’s the case, you’ll want to add an External Link to your project. You'll see it at the bottom of the project page like this:

It's a good feeling knowing you've got everything you need in one place. 😌
Staying on top of everything
Once everything is in place, Basecamp helps you stay on top of what’s happening without needing to check every project.
At the bottom of your screen, the My Bar gives you quick access to everything that’s relevant to you — your tasks, events, bookmarks, and notes you've left for yourself. On the right, you'll see what's "New for you" and your Pings.
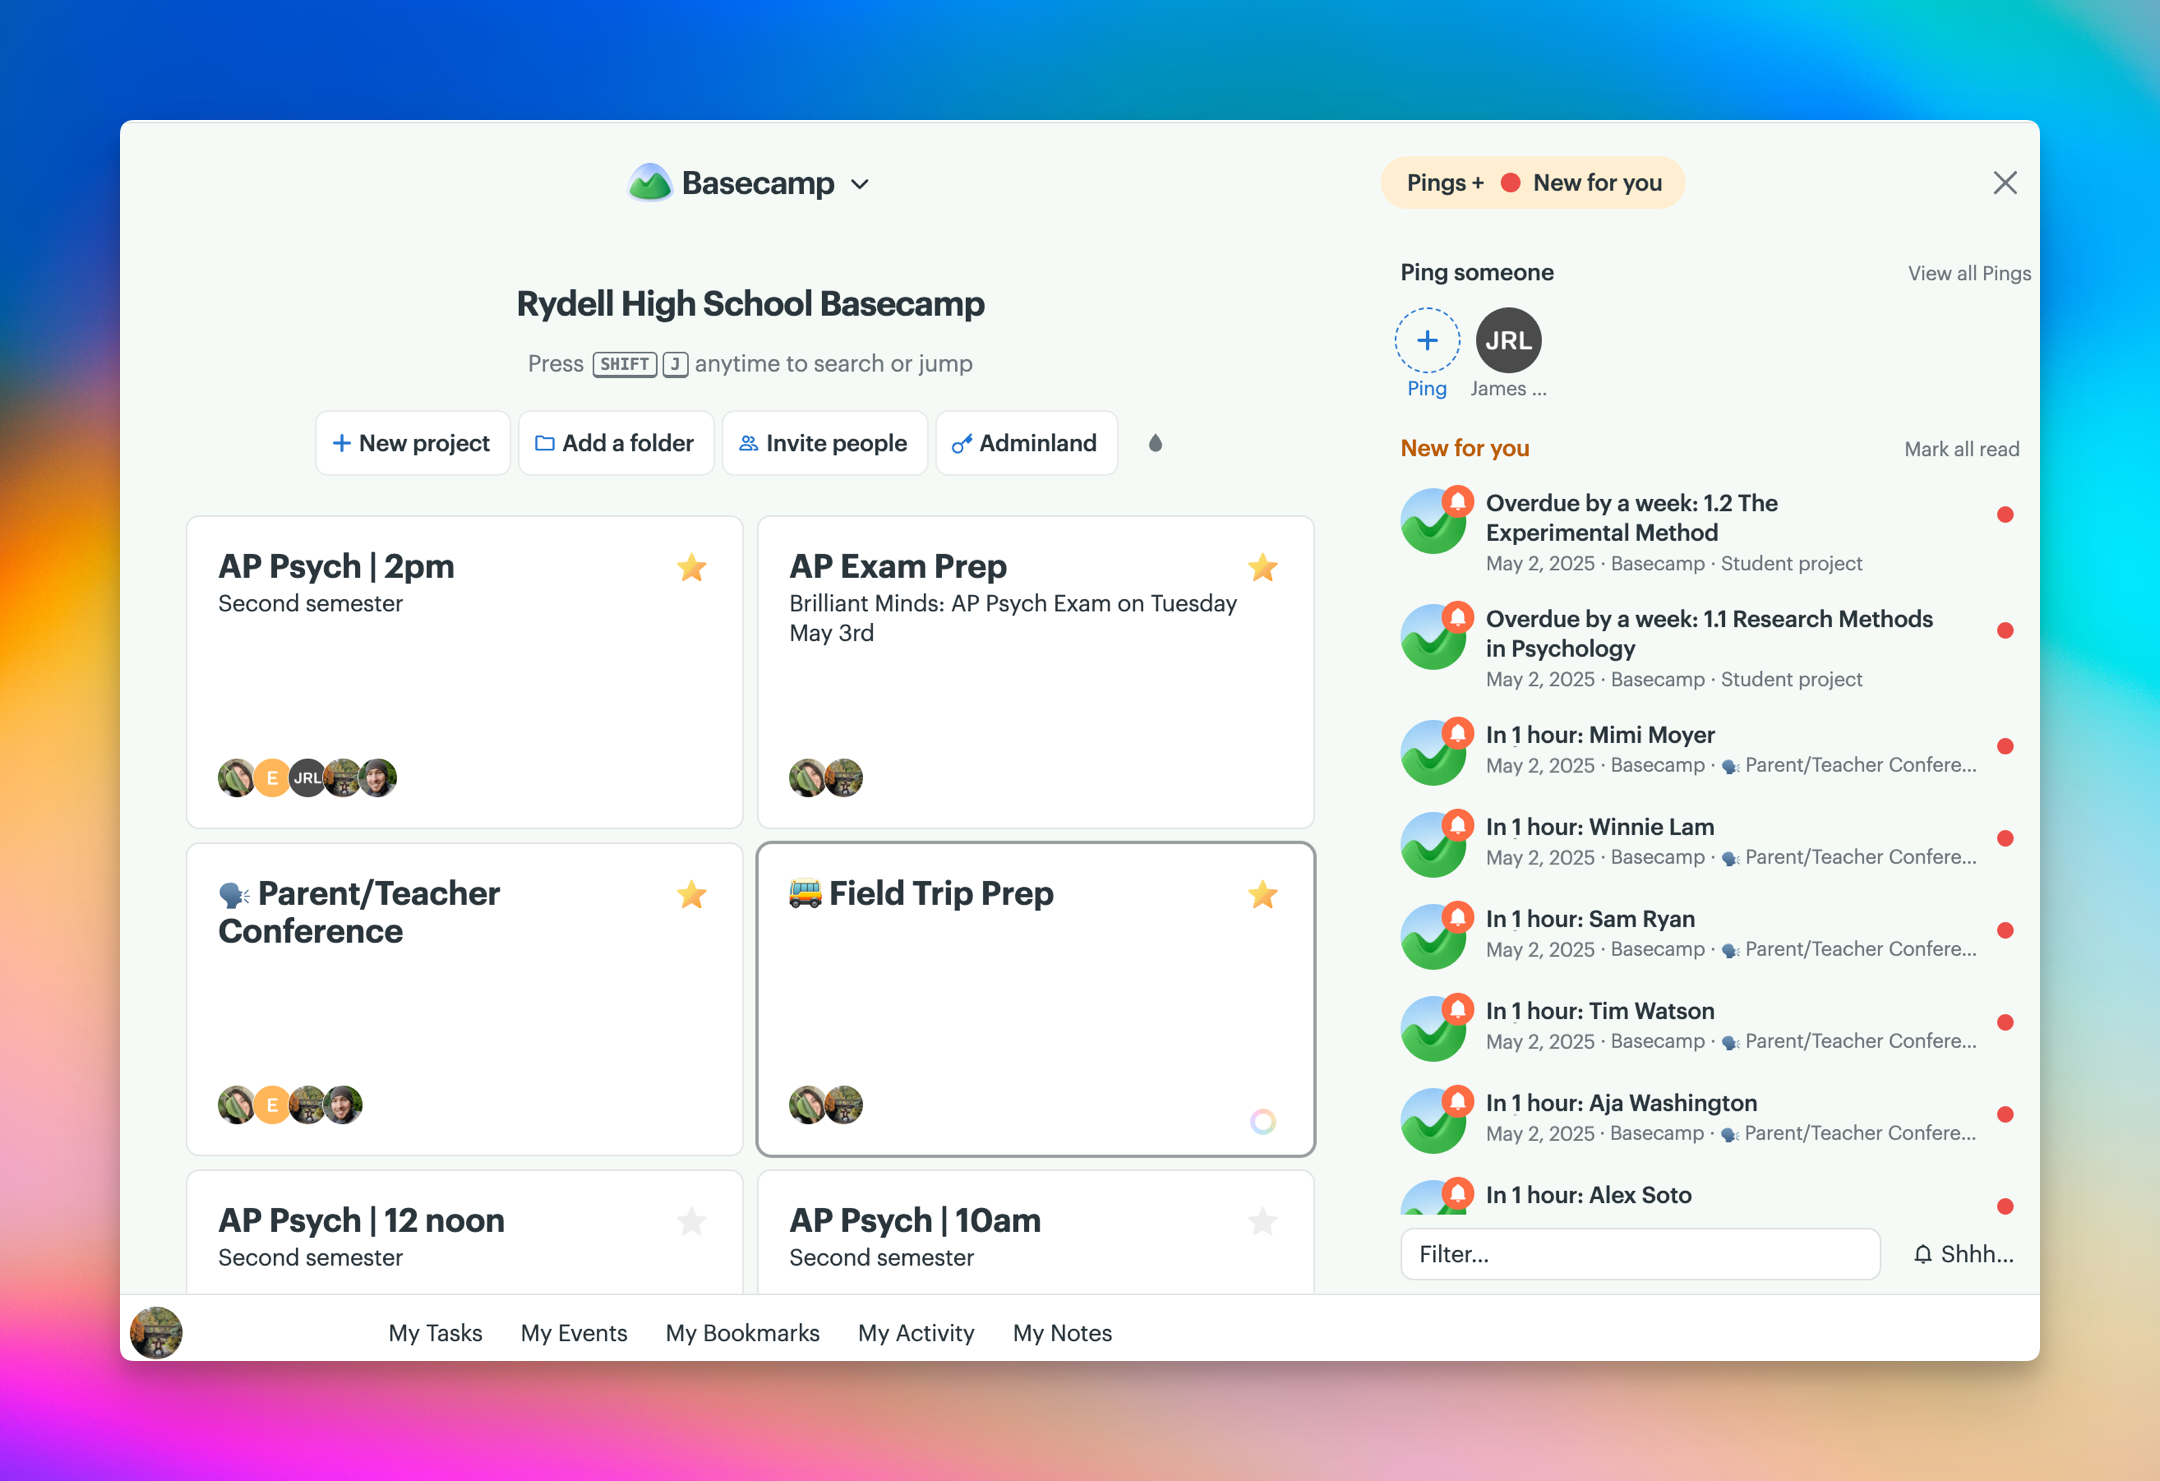
In addition to the notifications you've set, you’ll receive an email with the latest activity each morning and another with your upcoming assignments each week. If you don’t need those email notifications, you can always turn them off. You're in control here!
If there are any recurring questions you'd like to ask your students, turn them into Automatic Check-Ins.
In this example, the teacher asks every student "Was there anything confusing in this week's lesson?" on a weekly basis.

You may start to notice patterns that can help when planning next year’s lessons. 🤔
That's it for now! We hope this guide makes your work as an educator a little easier. If you need any help, check out our learning center, help pages, or send us an email. Happy Basecamping!