
Creating and setting up a Project
Work happens in Projects. Each project is its own space — with whatever tools your team needs to communicate, organize work, share files, and hit deadlines. Create one for every significant thing you have going on: a client engagement, a product launch, an internal initiative, a recurring process.
Jump to:
- Creating a project
- Adding tools
- Adding multiple tools
- Renaming tools
- Spotlight
- Invite-only vs. All-Access
- Inviting people
- Project settings
- Wallpaper
- More Options
Creating a project
From the Home page, click + Make a new project.
Give the project a name and an optional description, then click Create project. The description shows up on the project card on your Home page, so a sentence or two about the project's purpose is enough.
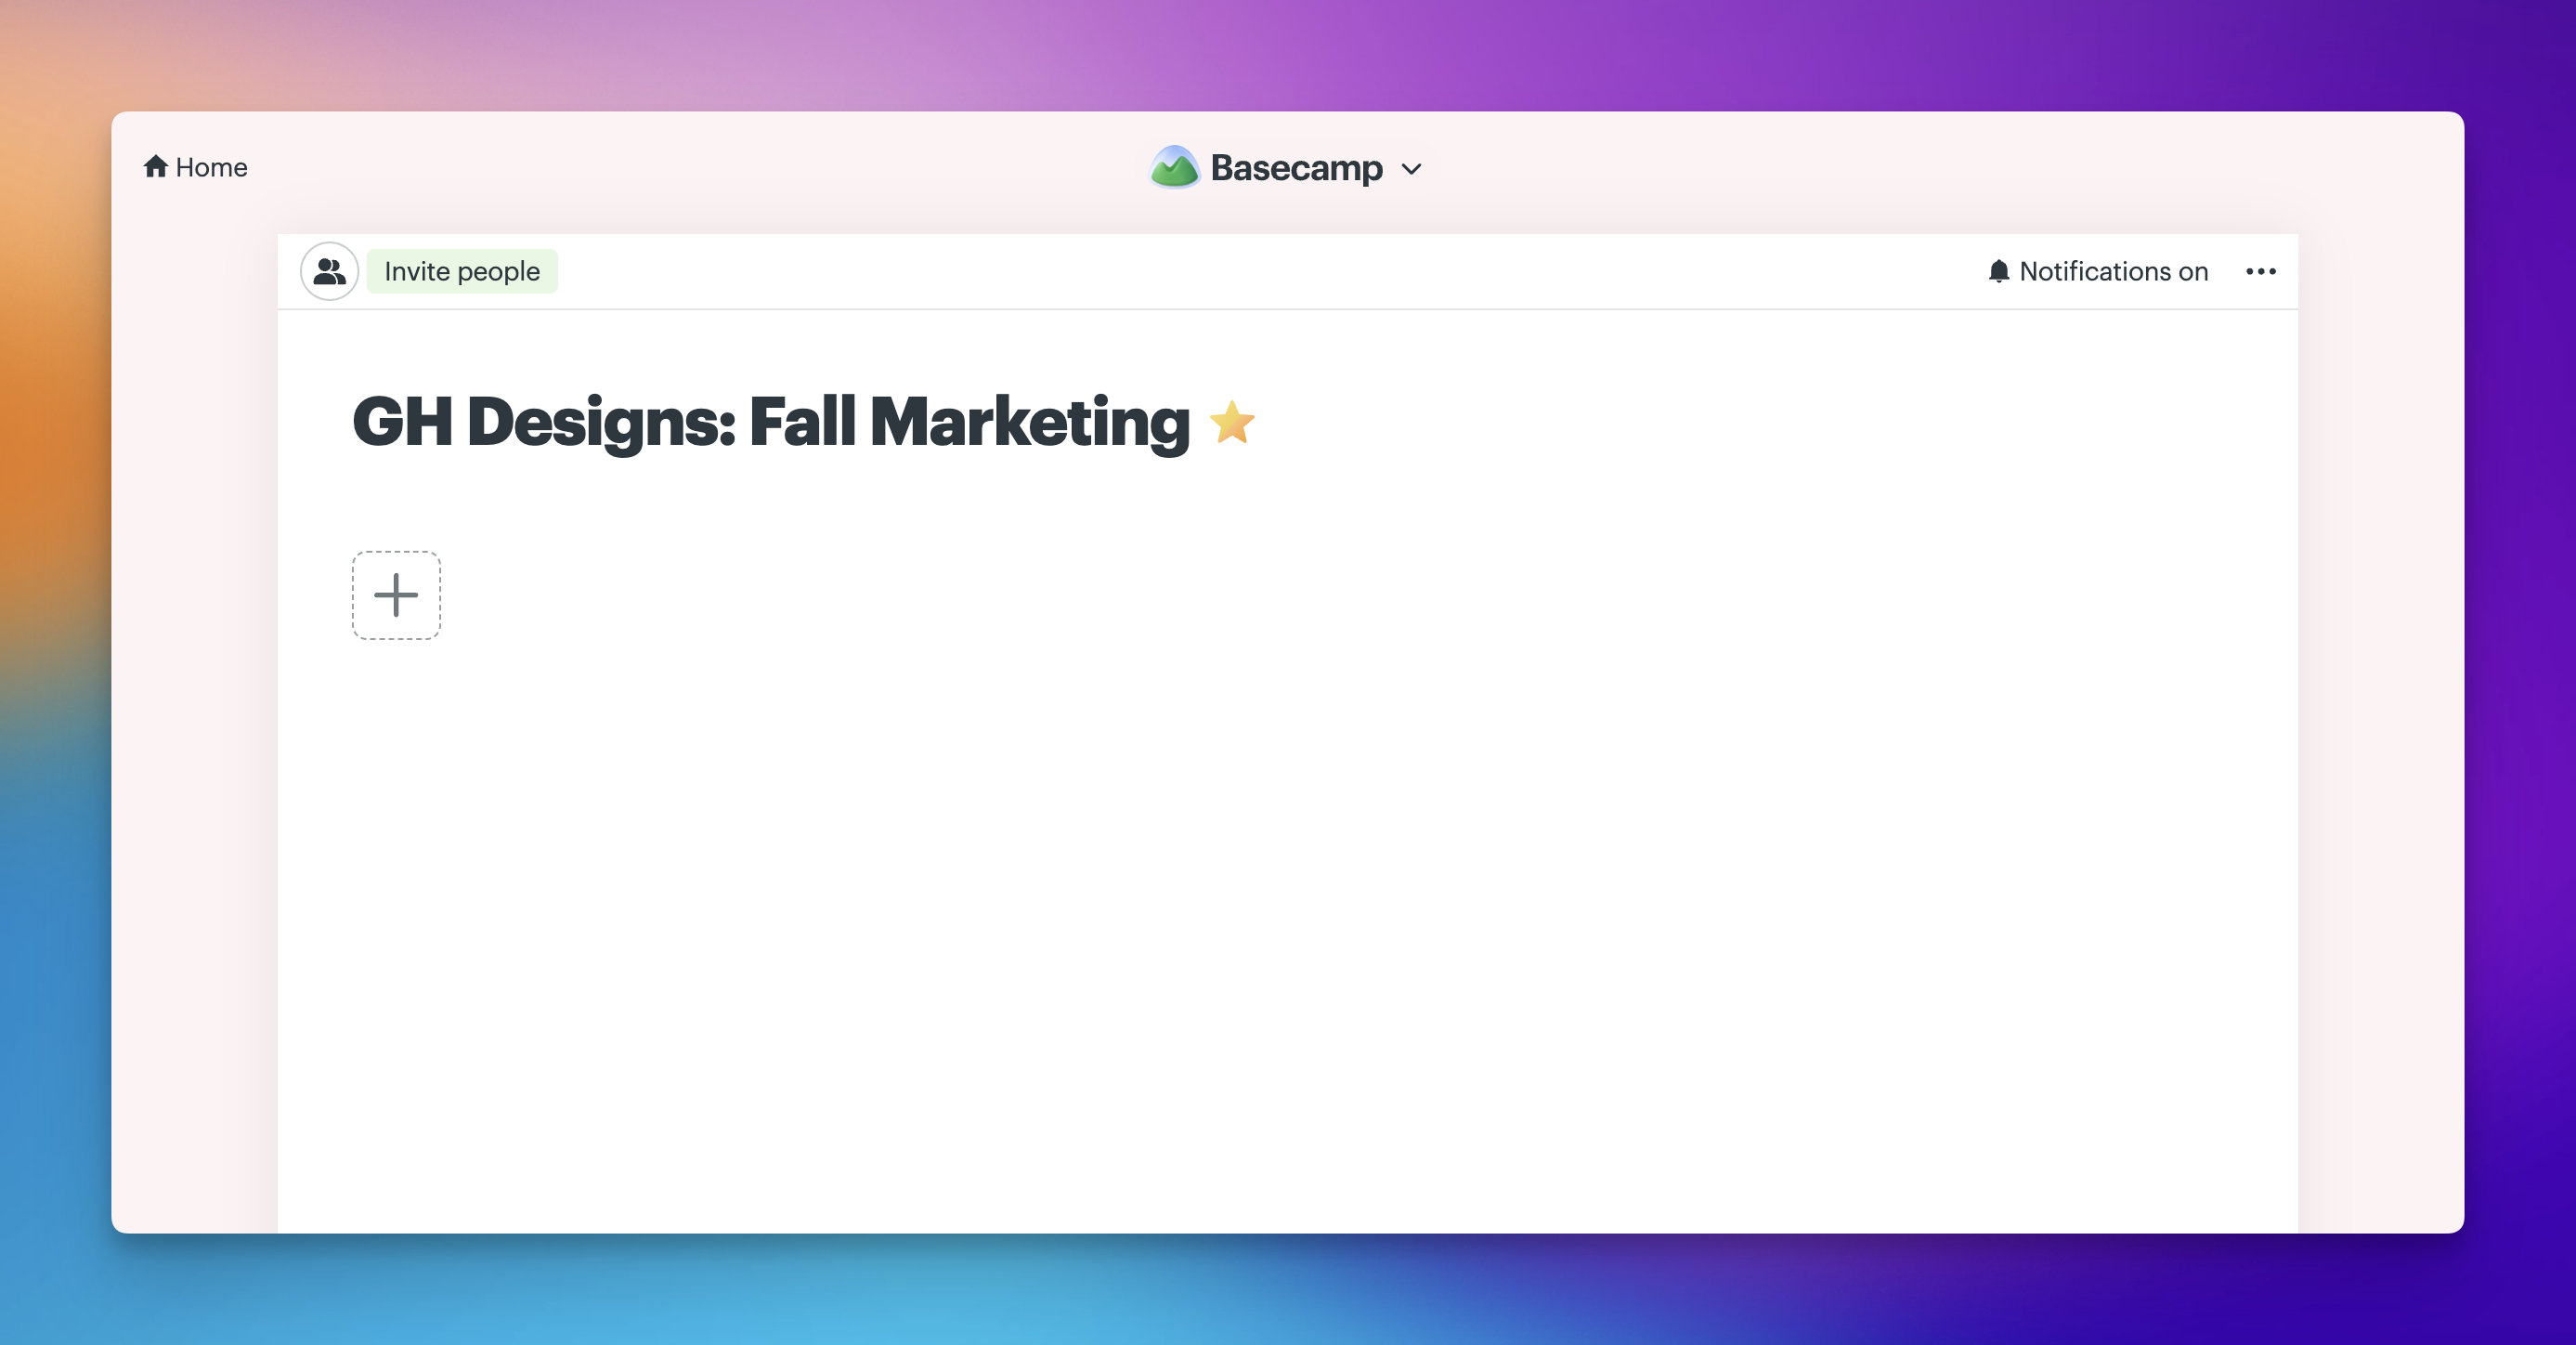
Your new project starts completely empty. No tools are added by default — you choose exactly what you need.
🗒️ Note: Do the same kinds of projects over and over? Save yourself time with a template. See our Templates article to learn how.
Adding tools
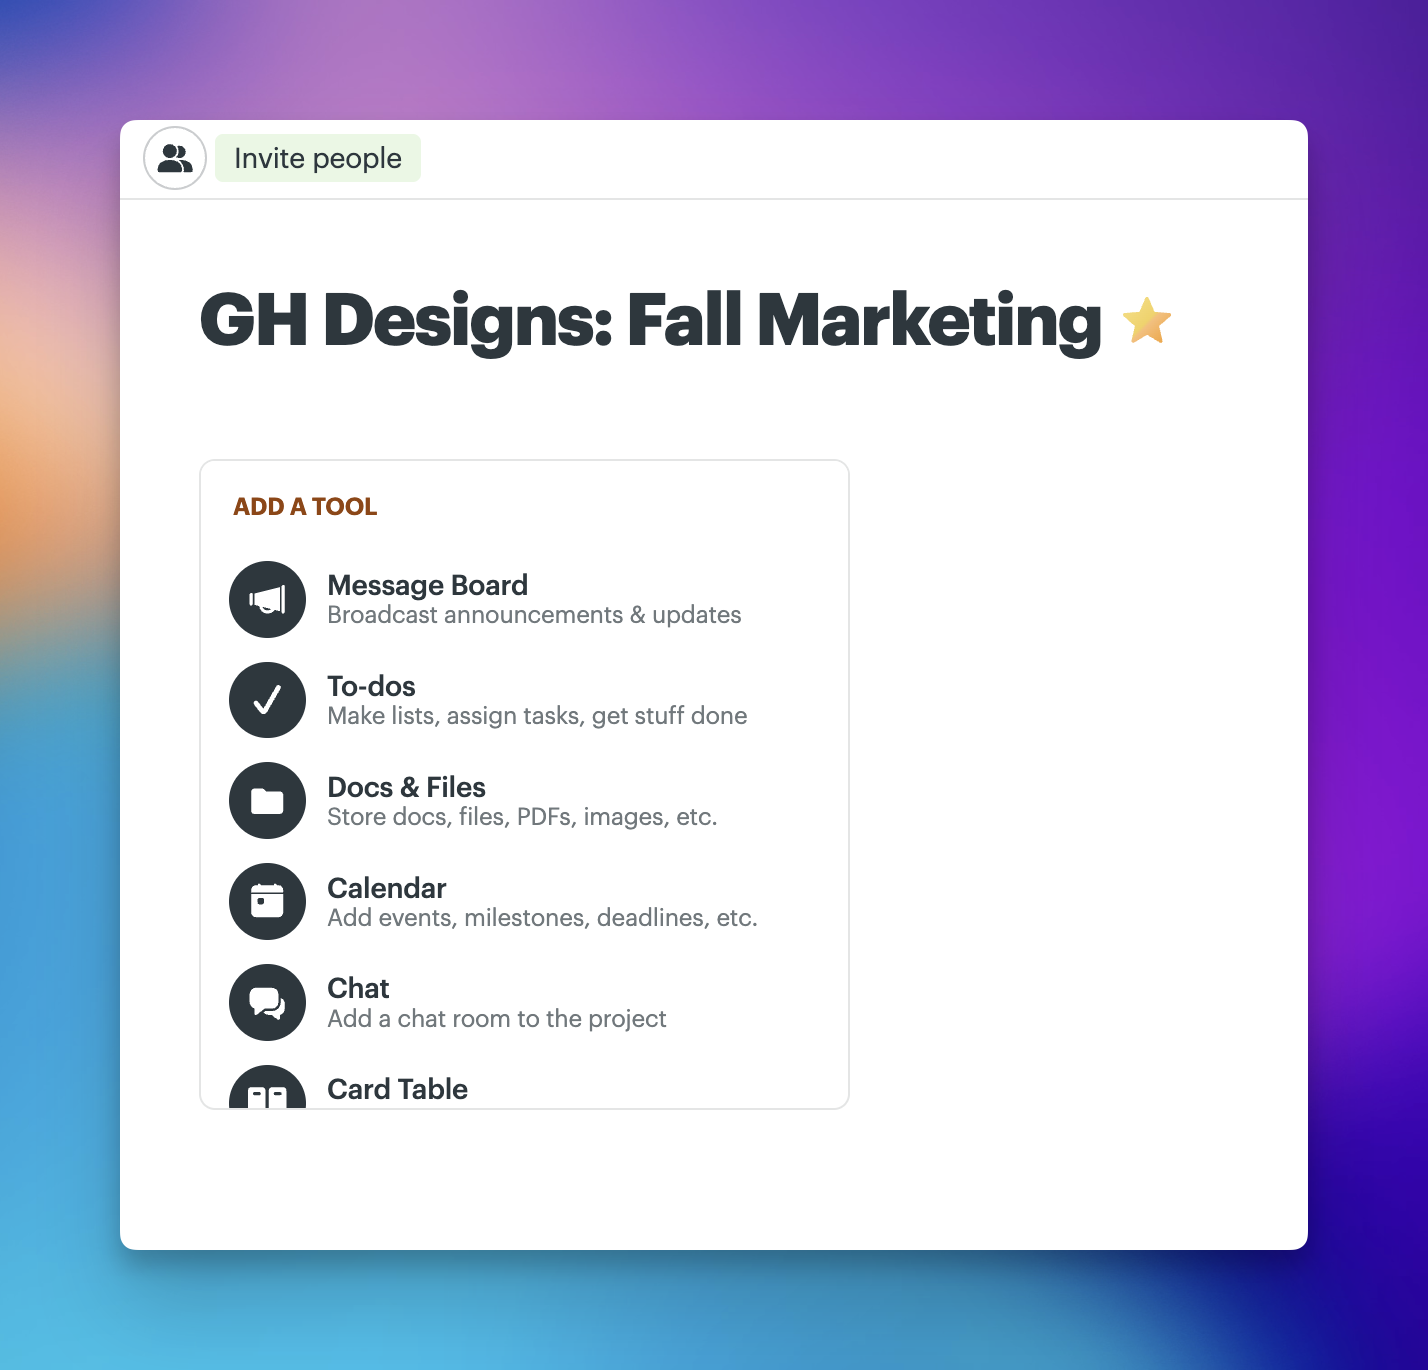
Click the + button inside the project to add a tool. Every tool available in Basecamp is listed there:
- Message Board — post announcements, proposals, updates, and discussions
- To-dos — create lists, assign tasks, and set due dates
- Docs & Files — store documents, files, and images
- Calendar — schedule events and track deadlines
- Chat — a real-time room for team conversation
- Card Table — a kanban-style board for visual workflow tracking
- Automatic Check-ins — recurring questions that post on a schedule
- Email Forwards — route emails into a project
- External Link — add a direct link to an outside service like GitHub, Zoom, or Google Drive
Click any tool to add it to the project. Tools appear in the order you add them, and you can rearrange them anytime.
💡 TIP: Account owners and administrators can set default names for project tools in Adminland. See Owner and Admin Actions
Adding multiple tools
You can add more than one instance of a tool to a project. This comes in handy when you want to separate unrelated work. For example, two To-dos lists for different workstreams, or two Message Boards for internal and client-facing updates.
Click + and select the same tool again to add another tool.
A few things to know about multiple tool instances:
- Additional Chat rooms don't automatically include everyone on the project. People need to follow the room or be @mentioned to receive notifications from it.
- Additional Message Boards inherit the categories configured in Adminland but can be customized independently from the project's ••• menu.
- Additional Calendars can be configured to show events only, or both events and dated to-dos — useful if you want one calendar for scheduling and another for assignment tracking.
To remove an extra tool instance, the tool must be completely empty first. Delete all content inside it, then use the "trash" icon on the bottom right of the tool to remove it.

Renaming tools
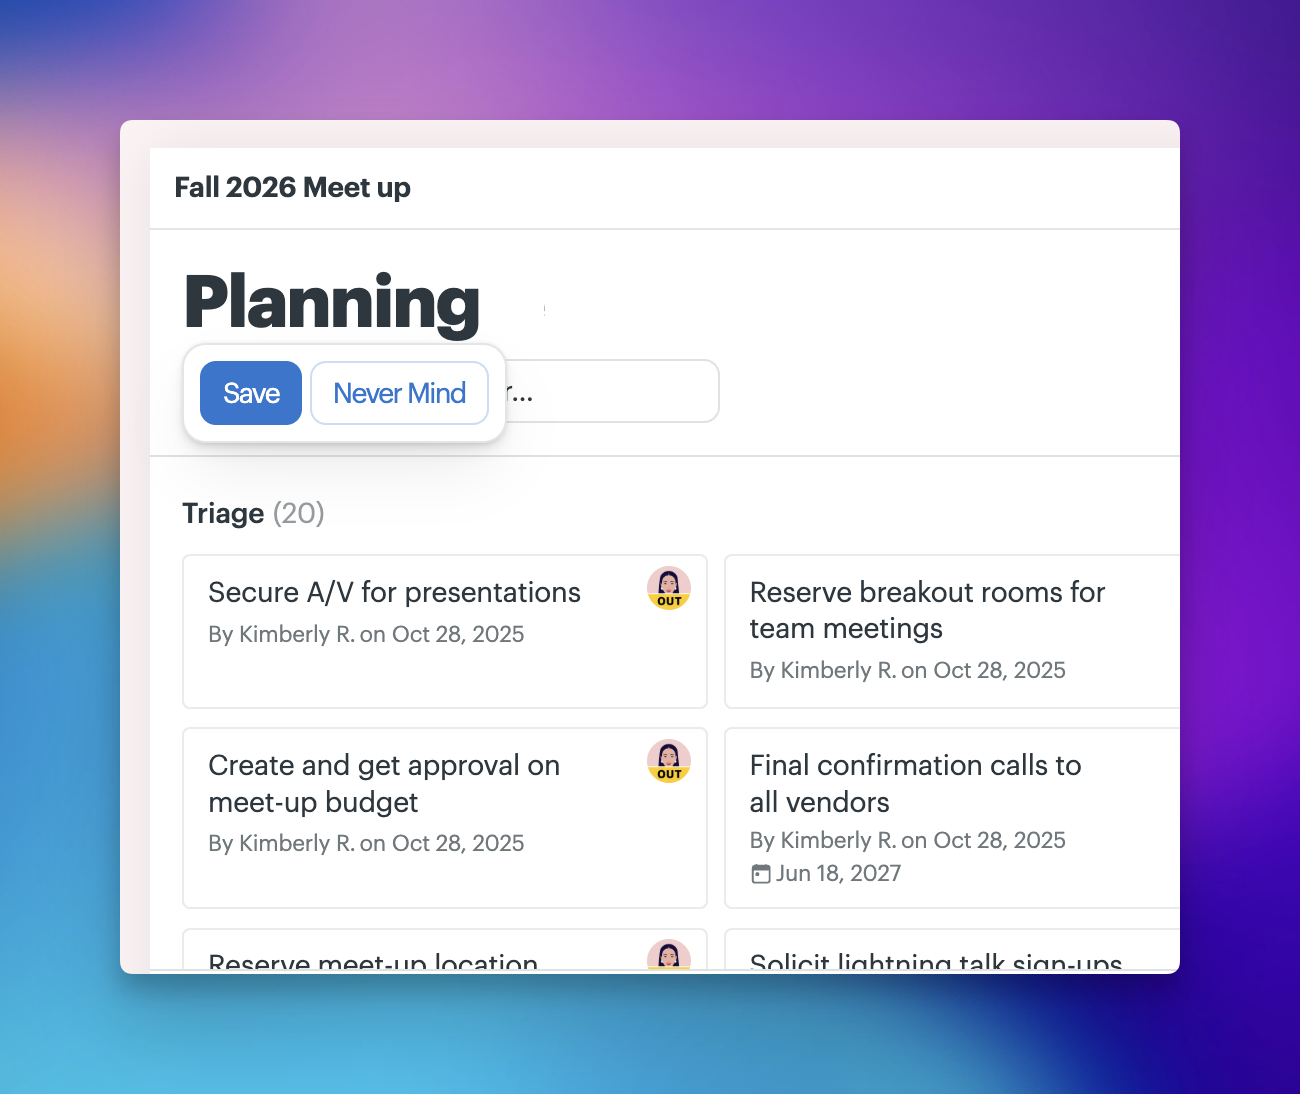
Every tool can be renamed to fit your needs, like a different language or context. Click directly on the tool's title to make it editable, type the new name, and press Enter.
Renamed tools are visible to everyone on the project. Renaming a tool here only affects this project, it doesn't change the default name in other projects.
Spotlight
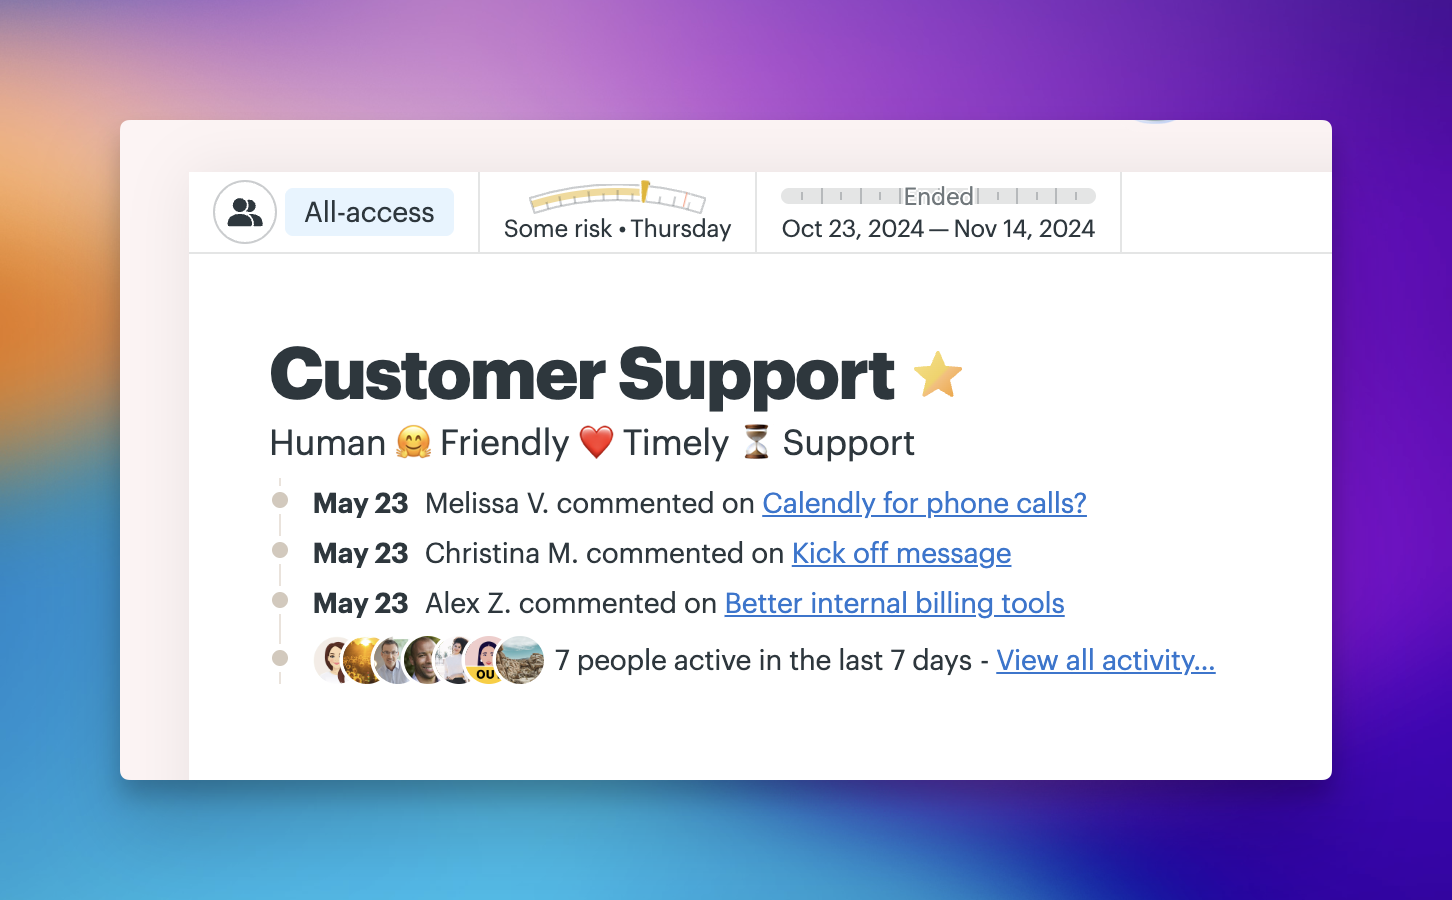
Highlight what's important by using the Spotlight feature. Use Spotlights to bring any item to the top of project: a "Read me first" message, next week’s launch plan, this week’s to-dos, what’s shipping, or assets everyone needs.
Only team users can add a spotlight. To add a spotlight, use the more options menu "•••" located on the top right of any item and click 'Spotlight on project page'. You can remove the item from the Spotlight using the same menu.

Invite-only vs. All-Access
New projects are Invite-only by default. Only people you explicitly invite can see and access the project.
All-Access projects are open to everyone on your account. Users can also find and join All-Access projects from the list of projects on the Home page.
To change a project's access type, click the People icon at the top left of the project and click 'switch to All-Access.
A few things to keep in mind:
- Only the project creator, account admins, and owners can change a project's access type.
- Clients can only be added to projects manually — they can't join via an All-Access link regardless of project type.
- In Invite-only projects, clients can't @mention groups that include people who don't already have access.
Inviting people
To add people to a project, click the People icon at the top left of the project. For the full how-to on inviting team members and clients, see Adding People to a Project.
Project settings
Click ••• > Project settings to update the project's details and toggle optional features.

- Logo — add a logo or image to your project.
- Name and description — update the project name or description at any time.
- Starts/Ends — set the project’s start and end dates. These dates appear at the top of the project and in Reports.
- Show progress — toggle on to display a gauge at the top of the project showing its overall progress and status. See the Needle for details.
- Timesheet — toggle on to enable time tracking for this project. Time tracking requires the Timesheet add-on or a Pro or Unlimited Edition subscription.
- Wallpaper — upload a background image for your project.
Wallpaper
Customize your project by adding a wallpaper. Click ••• > Project settings, click the image box in the Wallpaper section, and choose an image from your device.
Choose Fill screen to have the image fill the background or Tile to repeat the image, then click Save.

💡 Tip: A high-resolution image works best for wallpapers. Try an image around 2560 px wide, or a 16:9 image like 2560 × 1440. Some cropping may happen on different screen sizes. Images can be up to 10 MB.
More options
Click the ••• menu at the top right of the project to access more options:
- Project settings — update the name, description, start/end dates, Needle, Timesheet, and Wallpaper.
- Customize project tools — rename tools or toggle existing ones on and off
- Save as project template — create a reusable template from this project's current setup, including tools, to-do lists, and any content you want to reuse
- Leave this project — remove yourself from the project. You can only do this if there are other users on the project
- Copy Link — copy the URL of the project to share with others
- Archive or Delete — Archiving hides the project from the Home page but keeps all data intact; accessible from the project directory. Deleting permanently removes the project after a short confirmation period

🗒️ NOTE: Archiving and deleting projects requires admin, owner, or project creator status unless your account has the Admin Pro Pack restriction enabled. See Admin Pro Pack.