
Docs & Files
Docs & Files is where you store and organize documents, files, and links for a project. It’s designed for keeping reference material in one place - things your team needs to access, share, and come back to over time. Use it for anything that doesn’t belong in a conversation but still needs to be easy to find later.
Jump to:
- Adding files
- Creating documents
- Finding and filtering files
- Organizing files and folders
- Working with file versions
- Linking to cloud files
- Viewing files
- Sharing with a public link
- Downloading
To access Docs & Files, open a project and click Docs & Files.
Adding files
Add files to your project to share and keep them organized.
Click + New to upload a file, or drag and drop a file into Docs & Files.
You can rename files and add notes after uploading to give more context.
Files must be uploaded or dragged in - copy and paste isn’t supported.

📝 NOTE: File size limits apply. Standalone file uploads support files up to 5 GB. Files attached to a document can be up to 10 GB.
To upload a file larger than 5 GB, create a document and attach the file to it instead.
Creating documents
Create a document to write and share content with your team.
Click + New, then select Start a new doc. You can also hover over Docs & Files and click New document.
Add your content, choose who to notify, and post it when you’re ready.
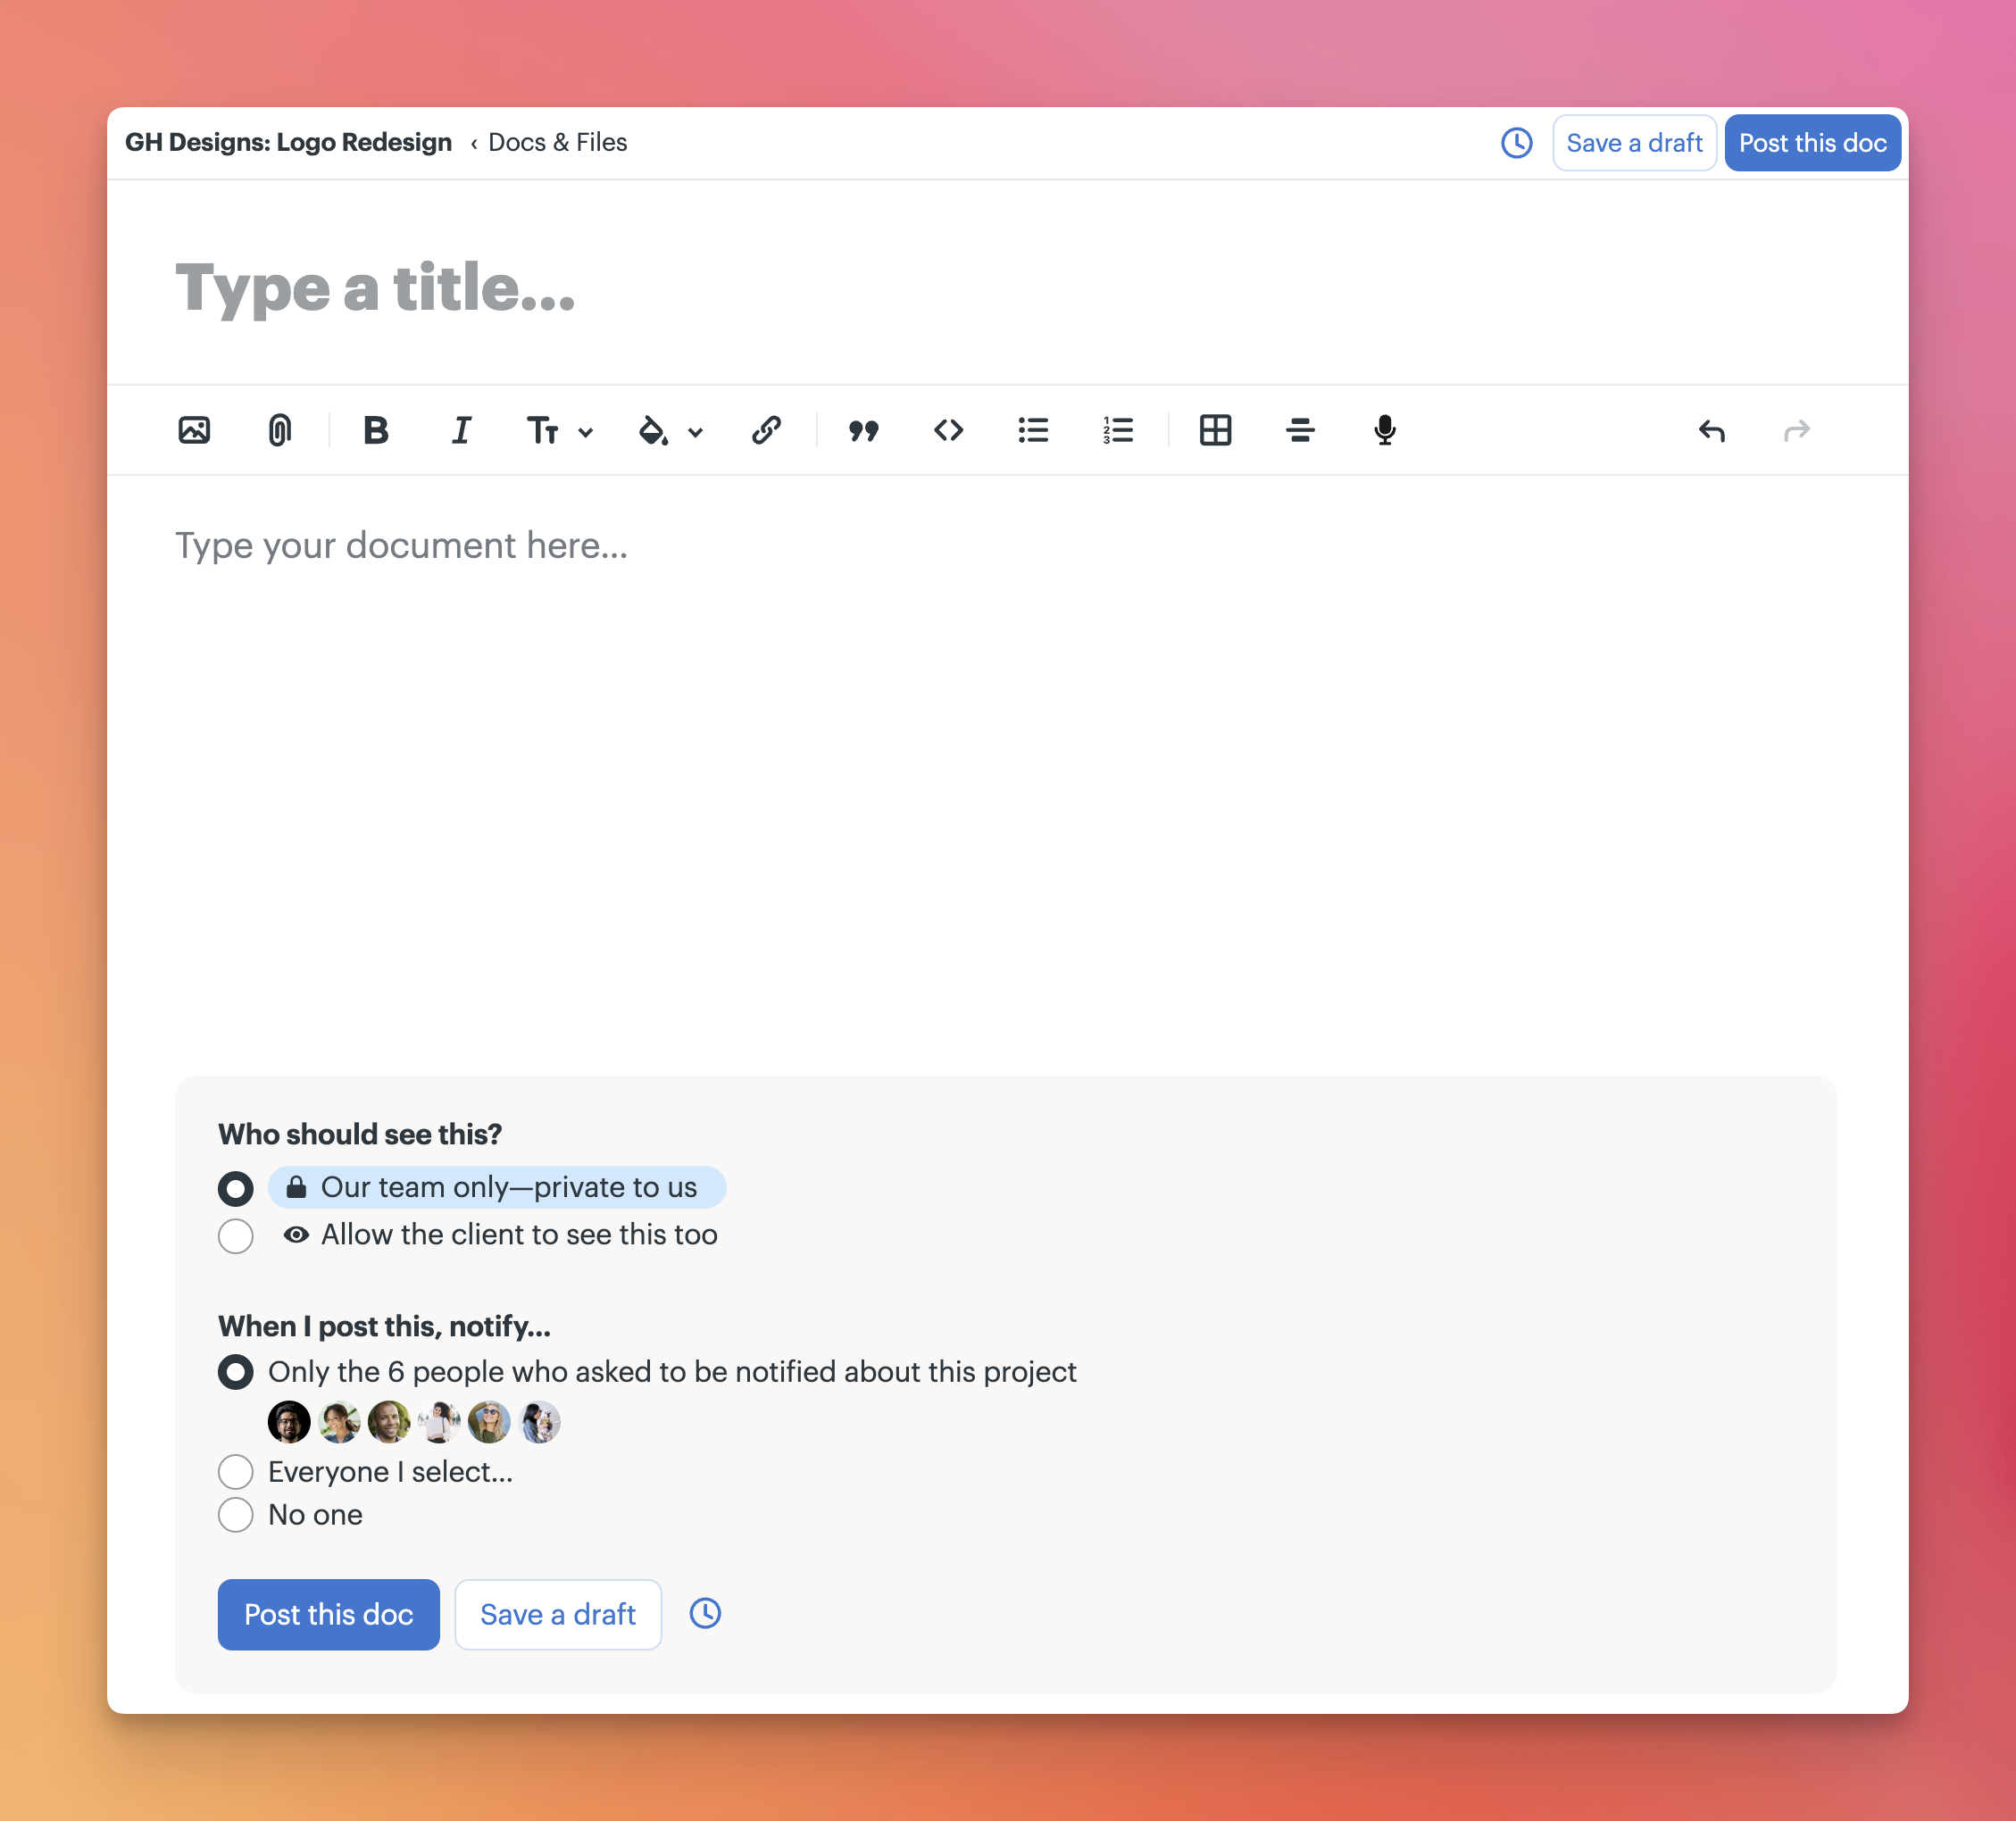
After posting, other users can comment and be notified.
To save drafts or schedule a document to post later, see Drafts.
Finding and filtering files
Use the filters at the top of Docs & Files to quickly find what you’re looking for. Filter by file type, search for specific items, or sort items by name, created, modified, or manually. You can view your files in a grid or list view.

Sorting and filtering only apply to your current Docs & Files view.
Organizing files and folders
Use folders to keep your Docs & Files organized.
To create a folder, click + New, then select Make a new folder.
In the list view, click a folder icon to expand it directly to browse its contents without leaving the page. Multiple folders can stay open at the same time. Turn on Keep folders open to automatically expand all folders. If you manually collapse a folder, the toggle turns off automatically.

Drag files, documents, or links into folders to organize related work together.
Move items using the ⋮ menu and selecting Move.
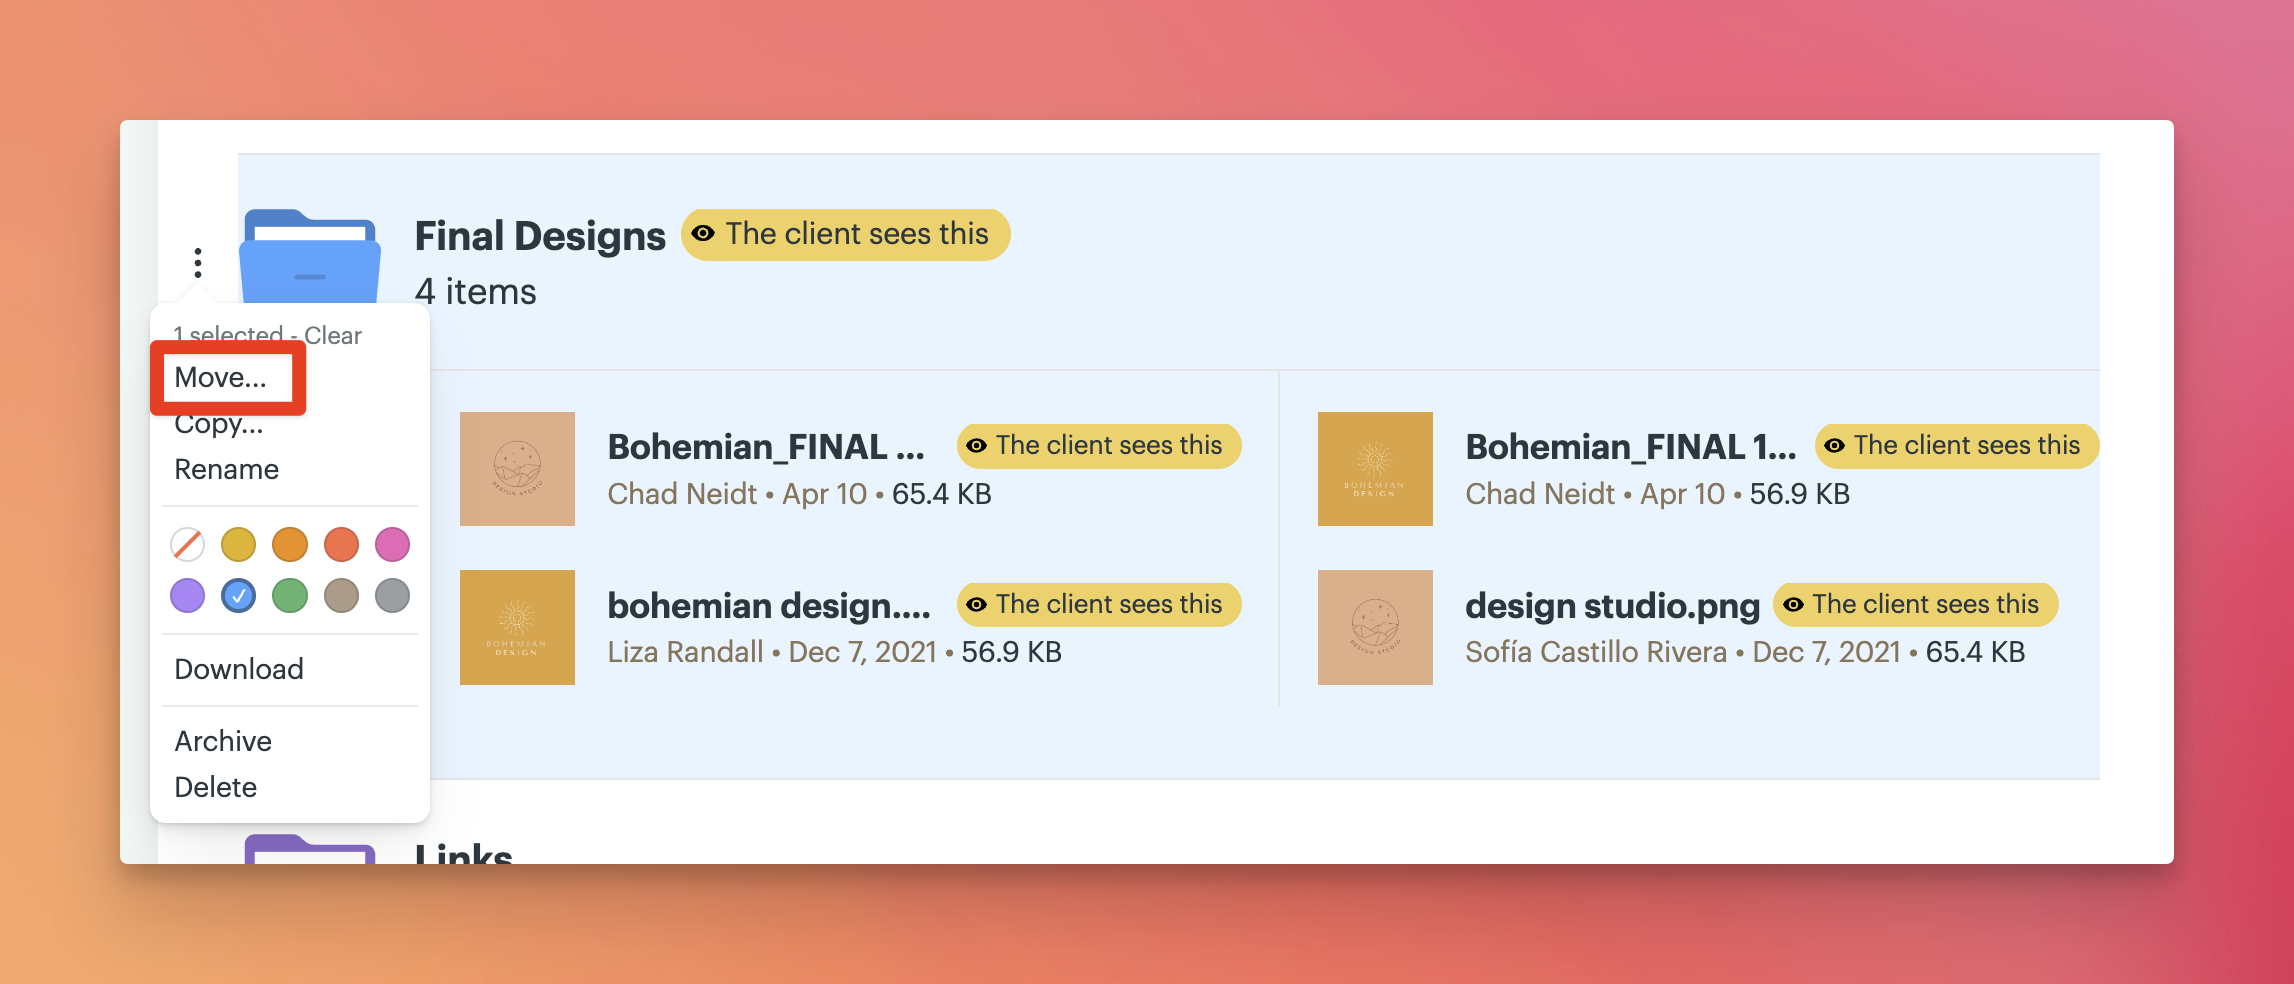
You can also select multiple items to perform bulk actions like moving, copying, downloading, archiving, deleting, or changing colors.
💡 TIP: Select multiple items using Command (Mac) or Control (Windows/Linux), or hold Shift to select a range. Once selected, use the ⋮ menu to move, copy, download, archive, delete, or change colors in bulk.
Working with file versions
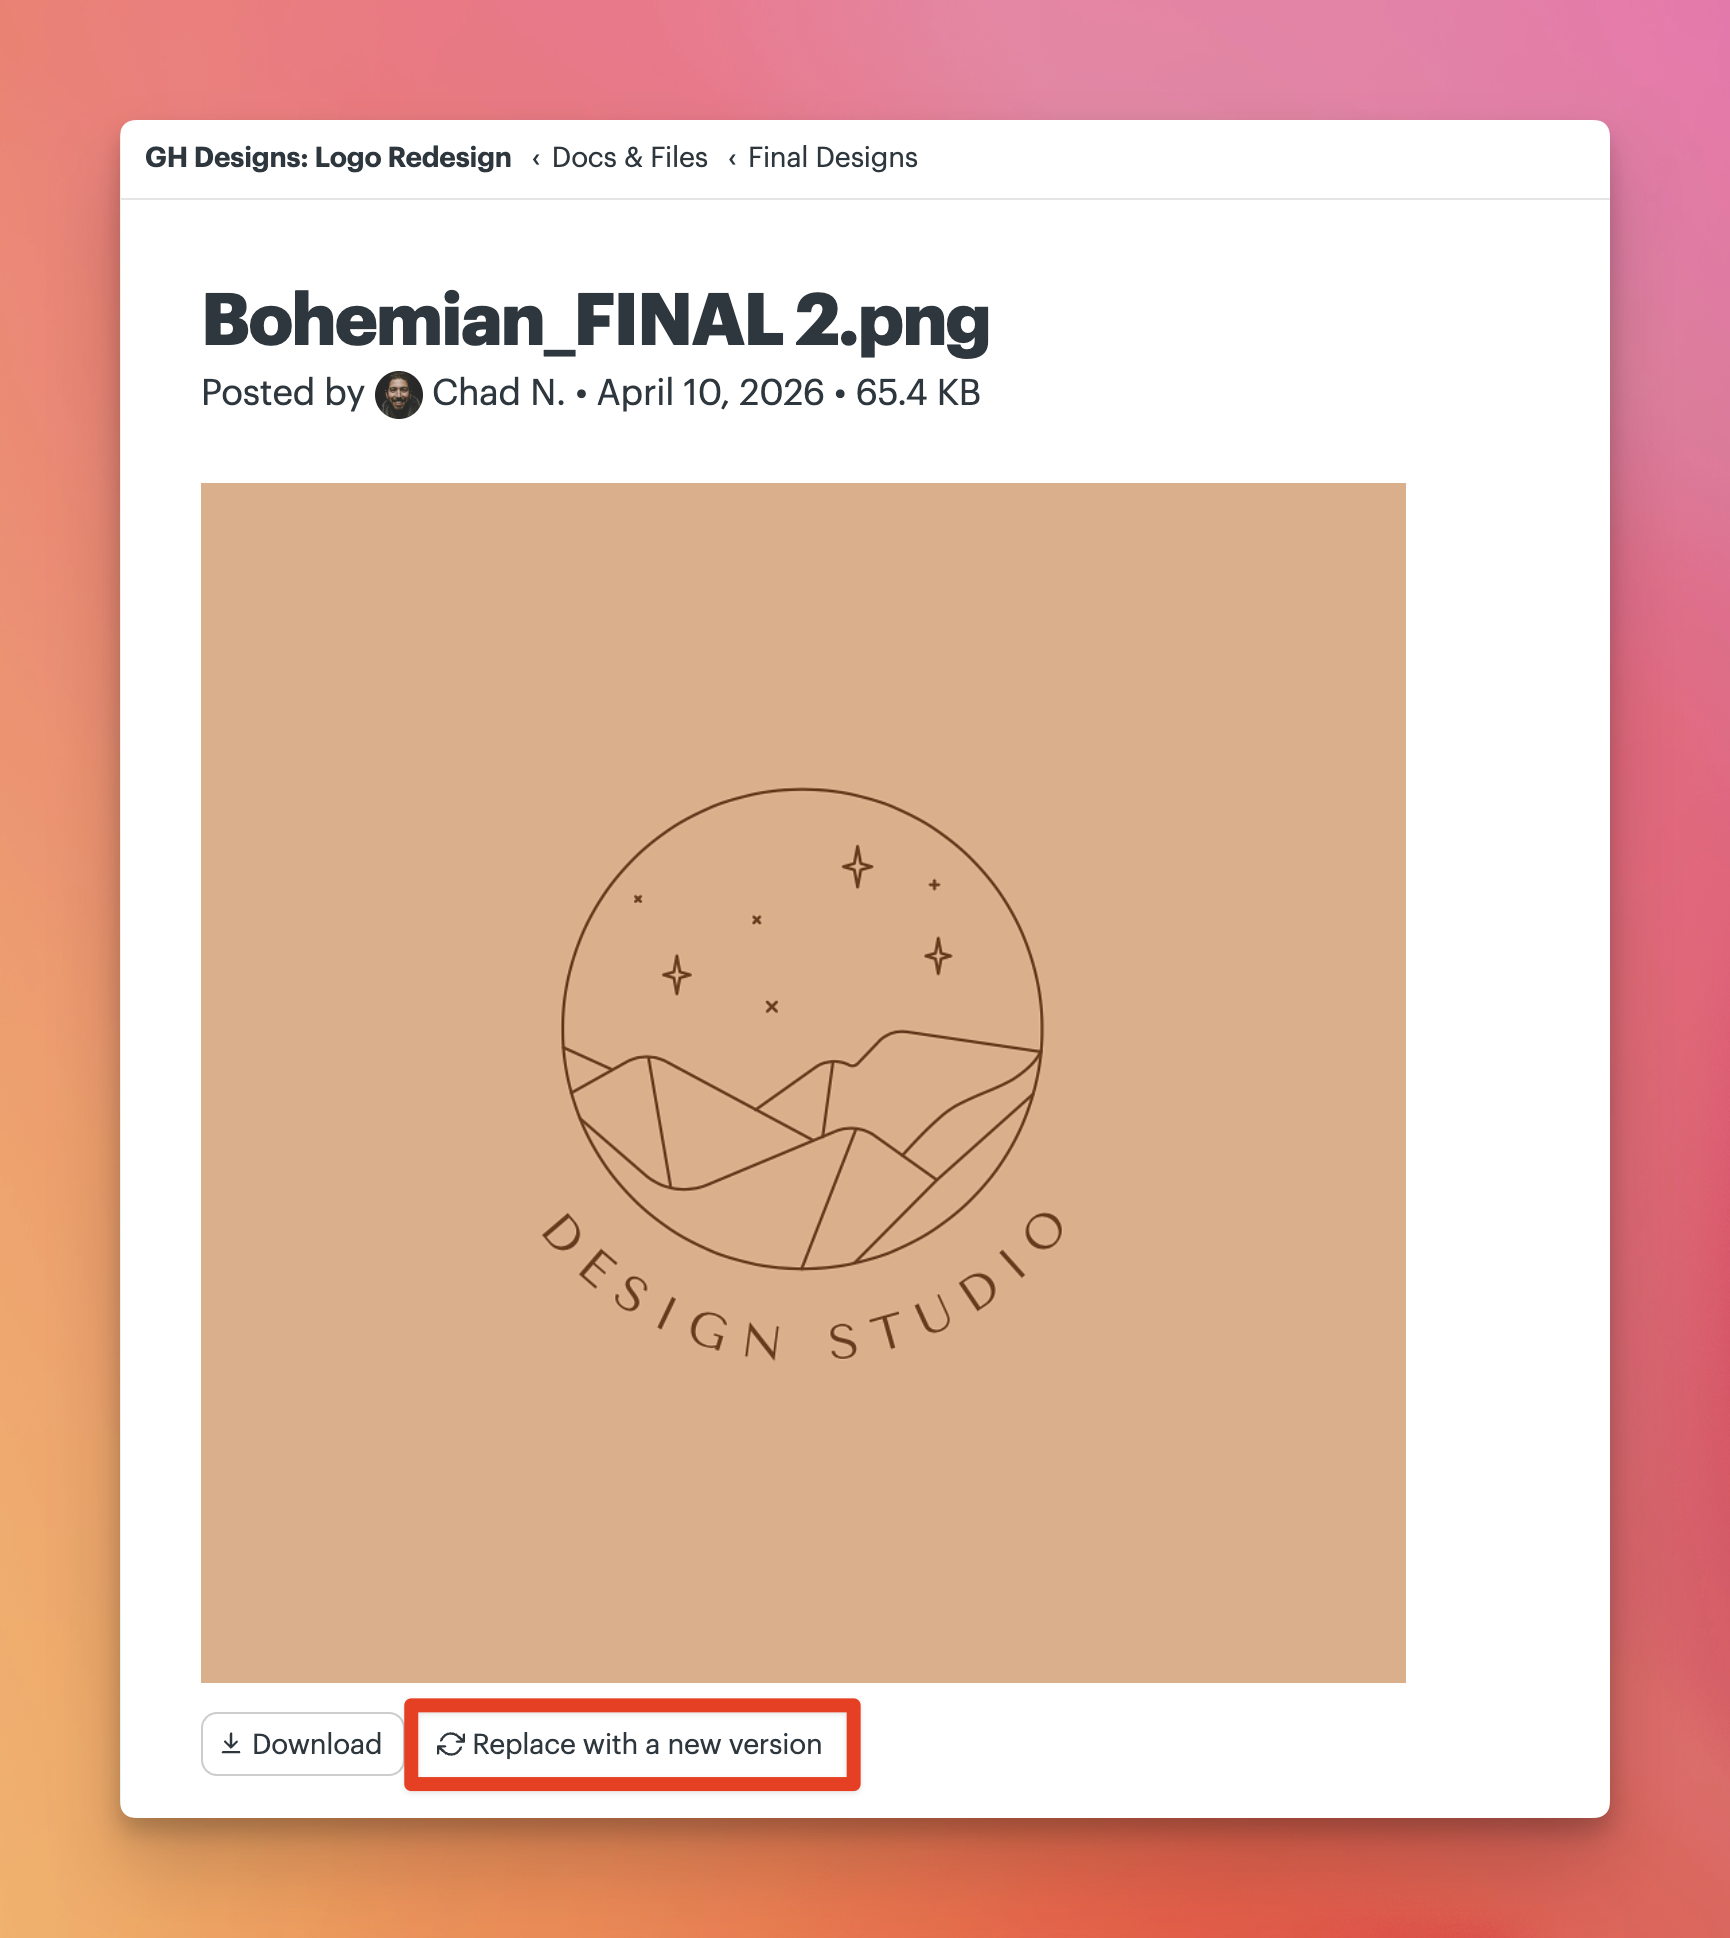
Add a new version of a file by clicking on Replace with a new version under the current file. View all previous versions by clicking on See all versions.
Linking to cloud files
Link to files stored in other services to keep everything connected.
Click + New, then choose a service or External Service.
Add a title and link, then post it to your project.
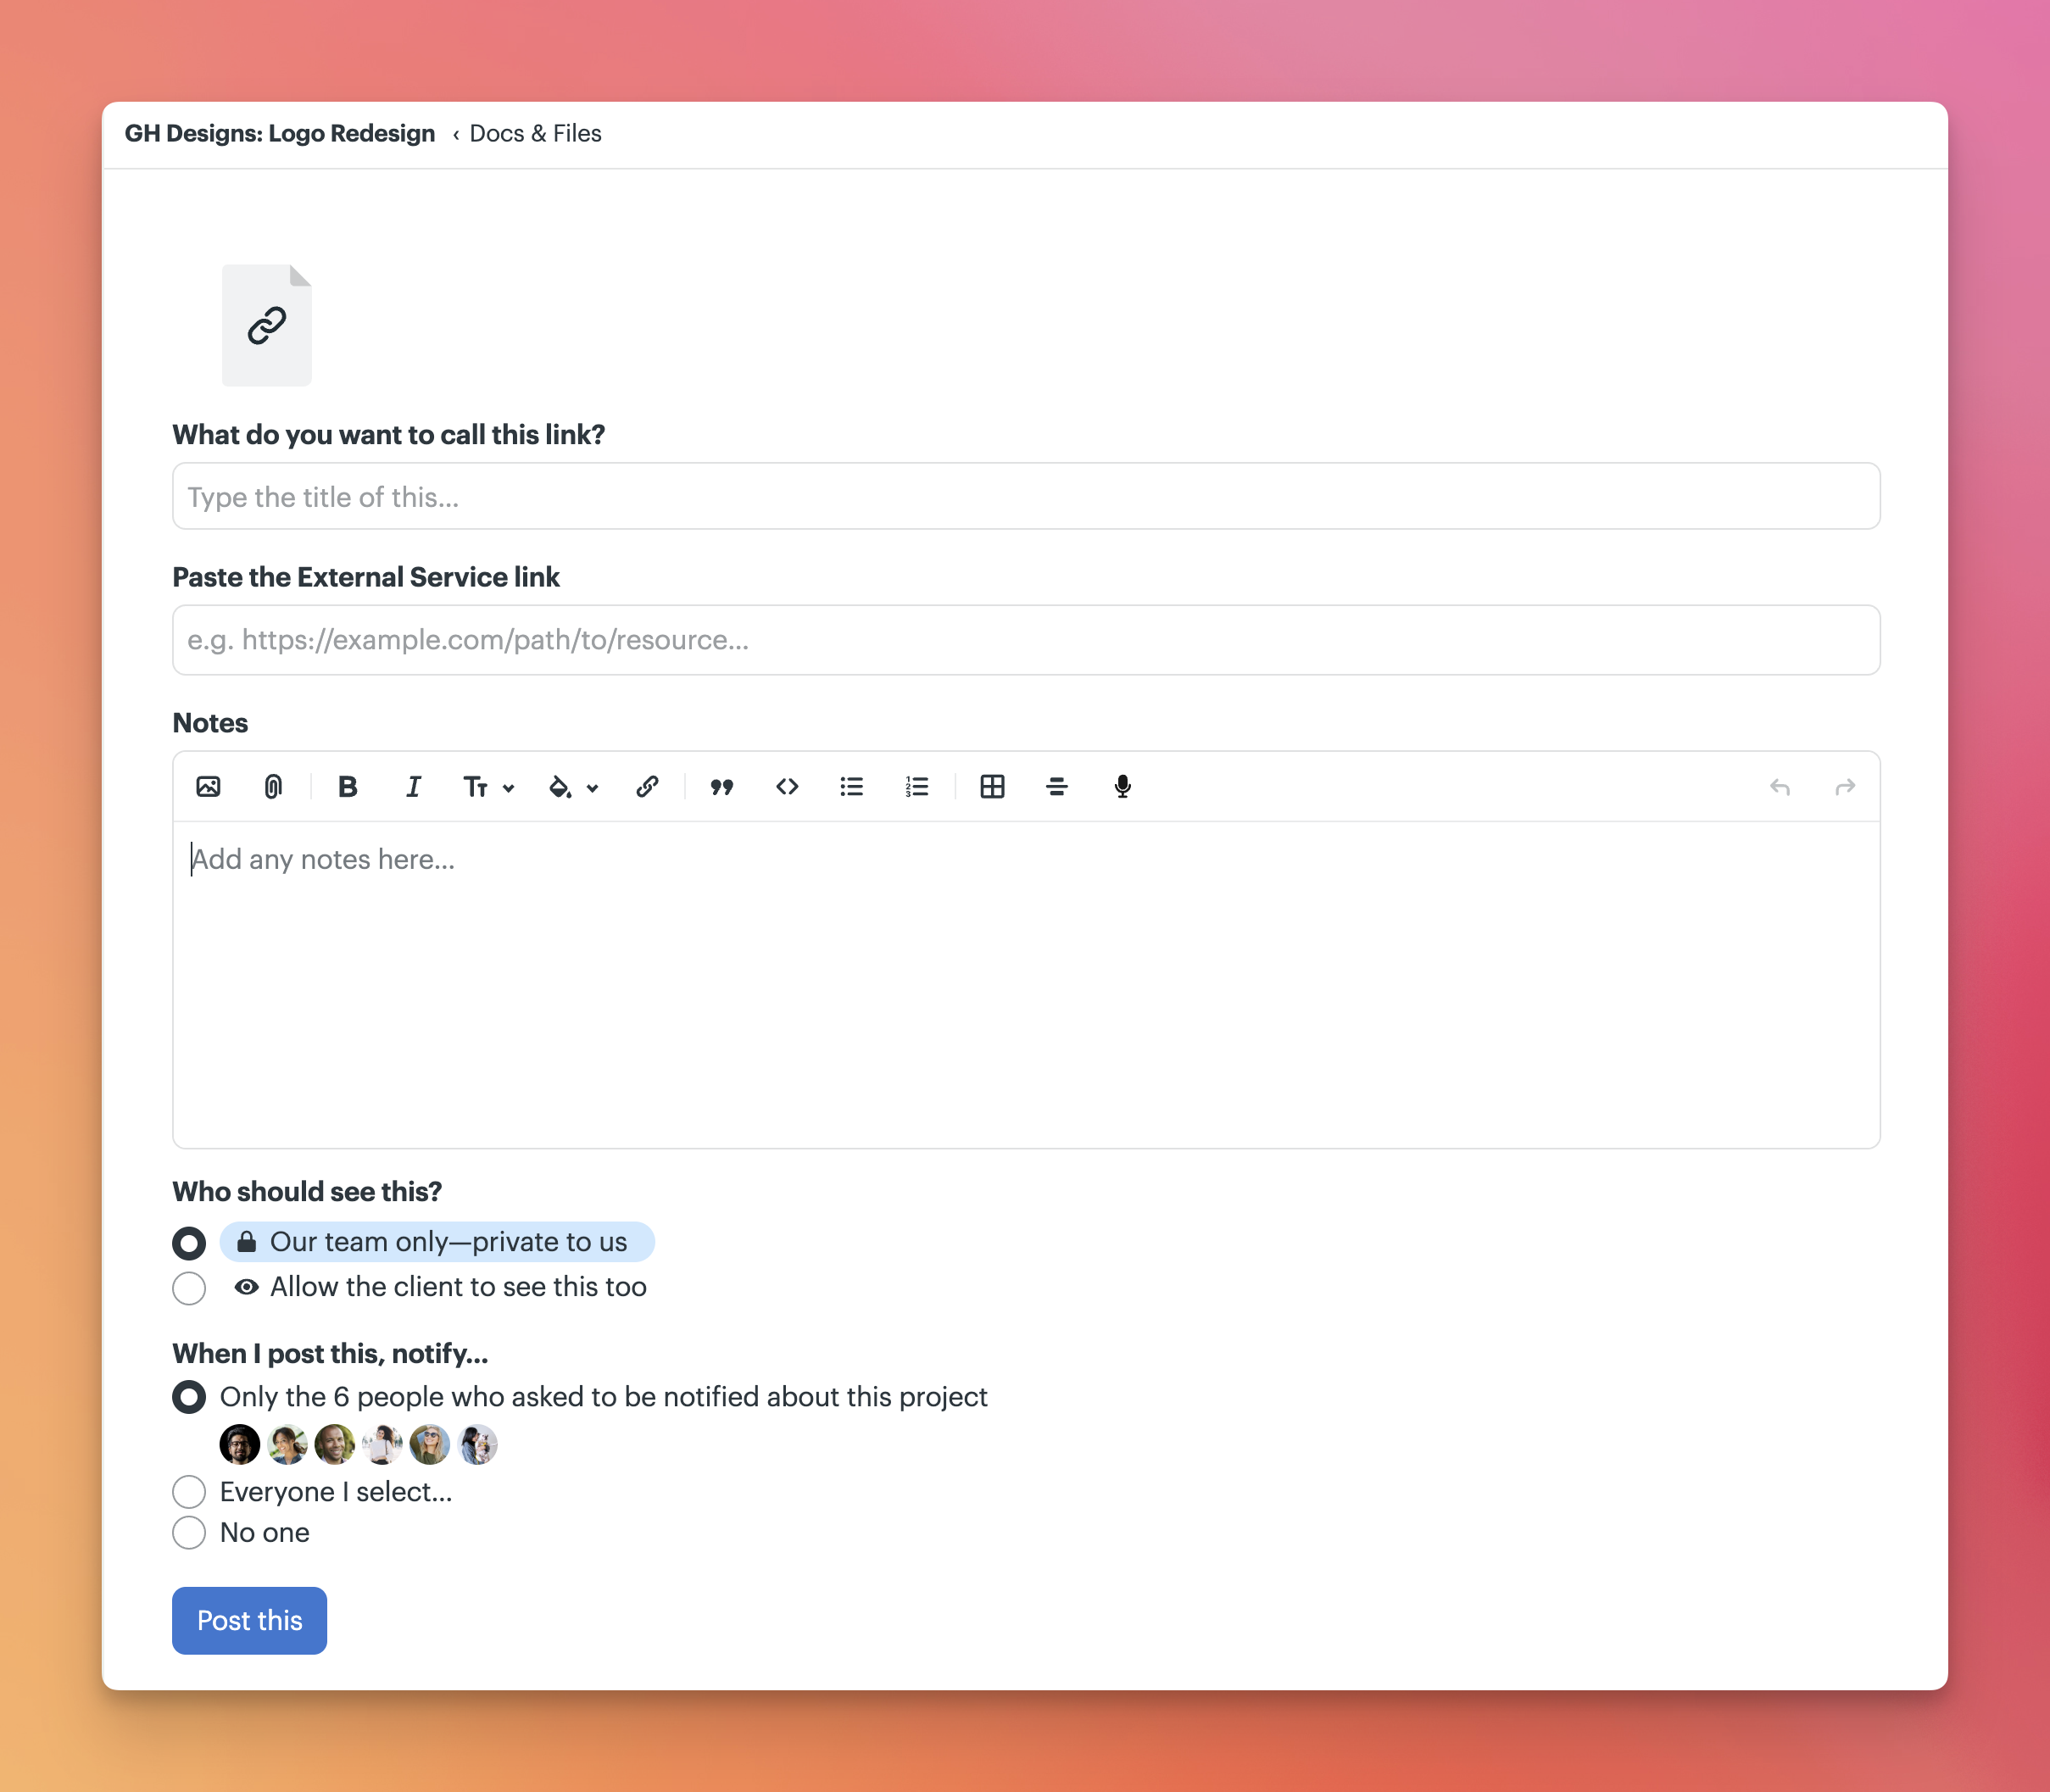
Linked files open in their original service. You’ll need access and the correct permissions to view them.
Viewing files
Click a file or image to open a preview.
Preview images, PDFs, and uploaded files directly in Docs & Files. Use the arrows to move between files, open the full item, or download it.
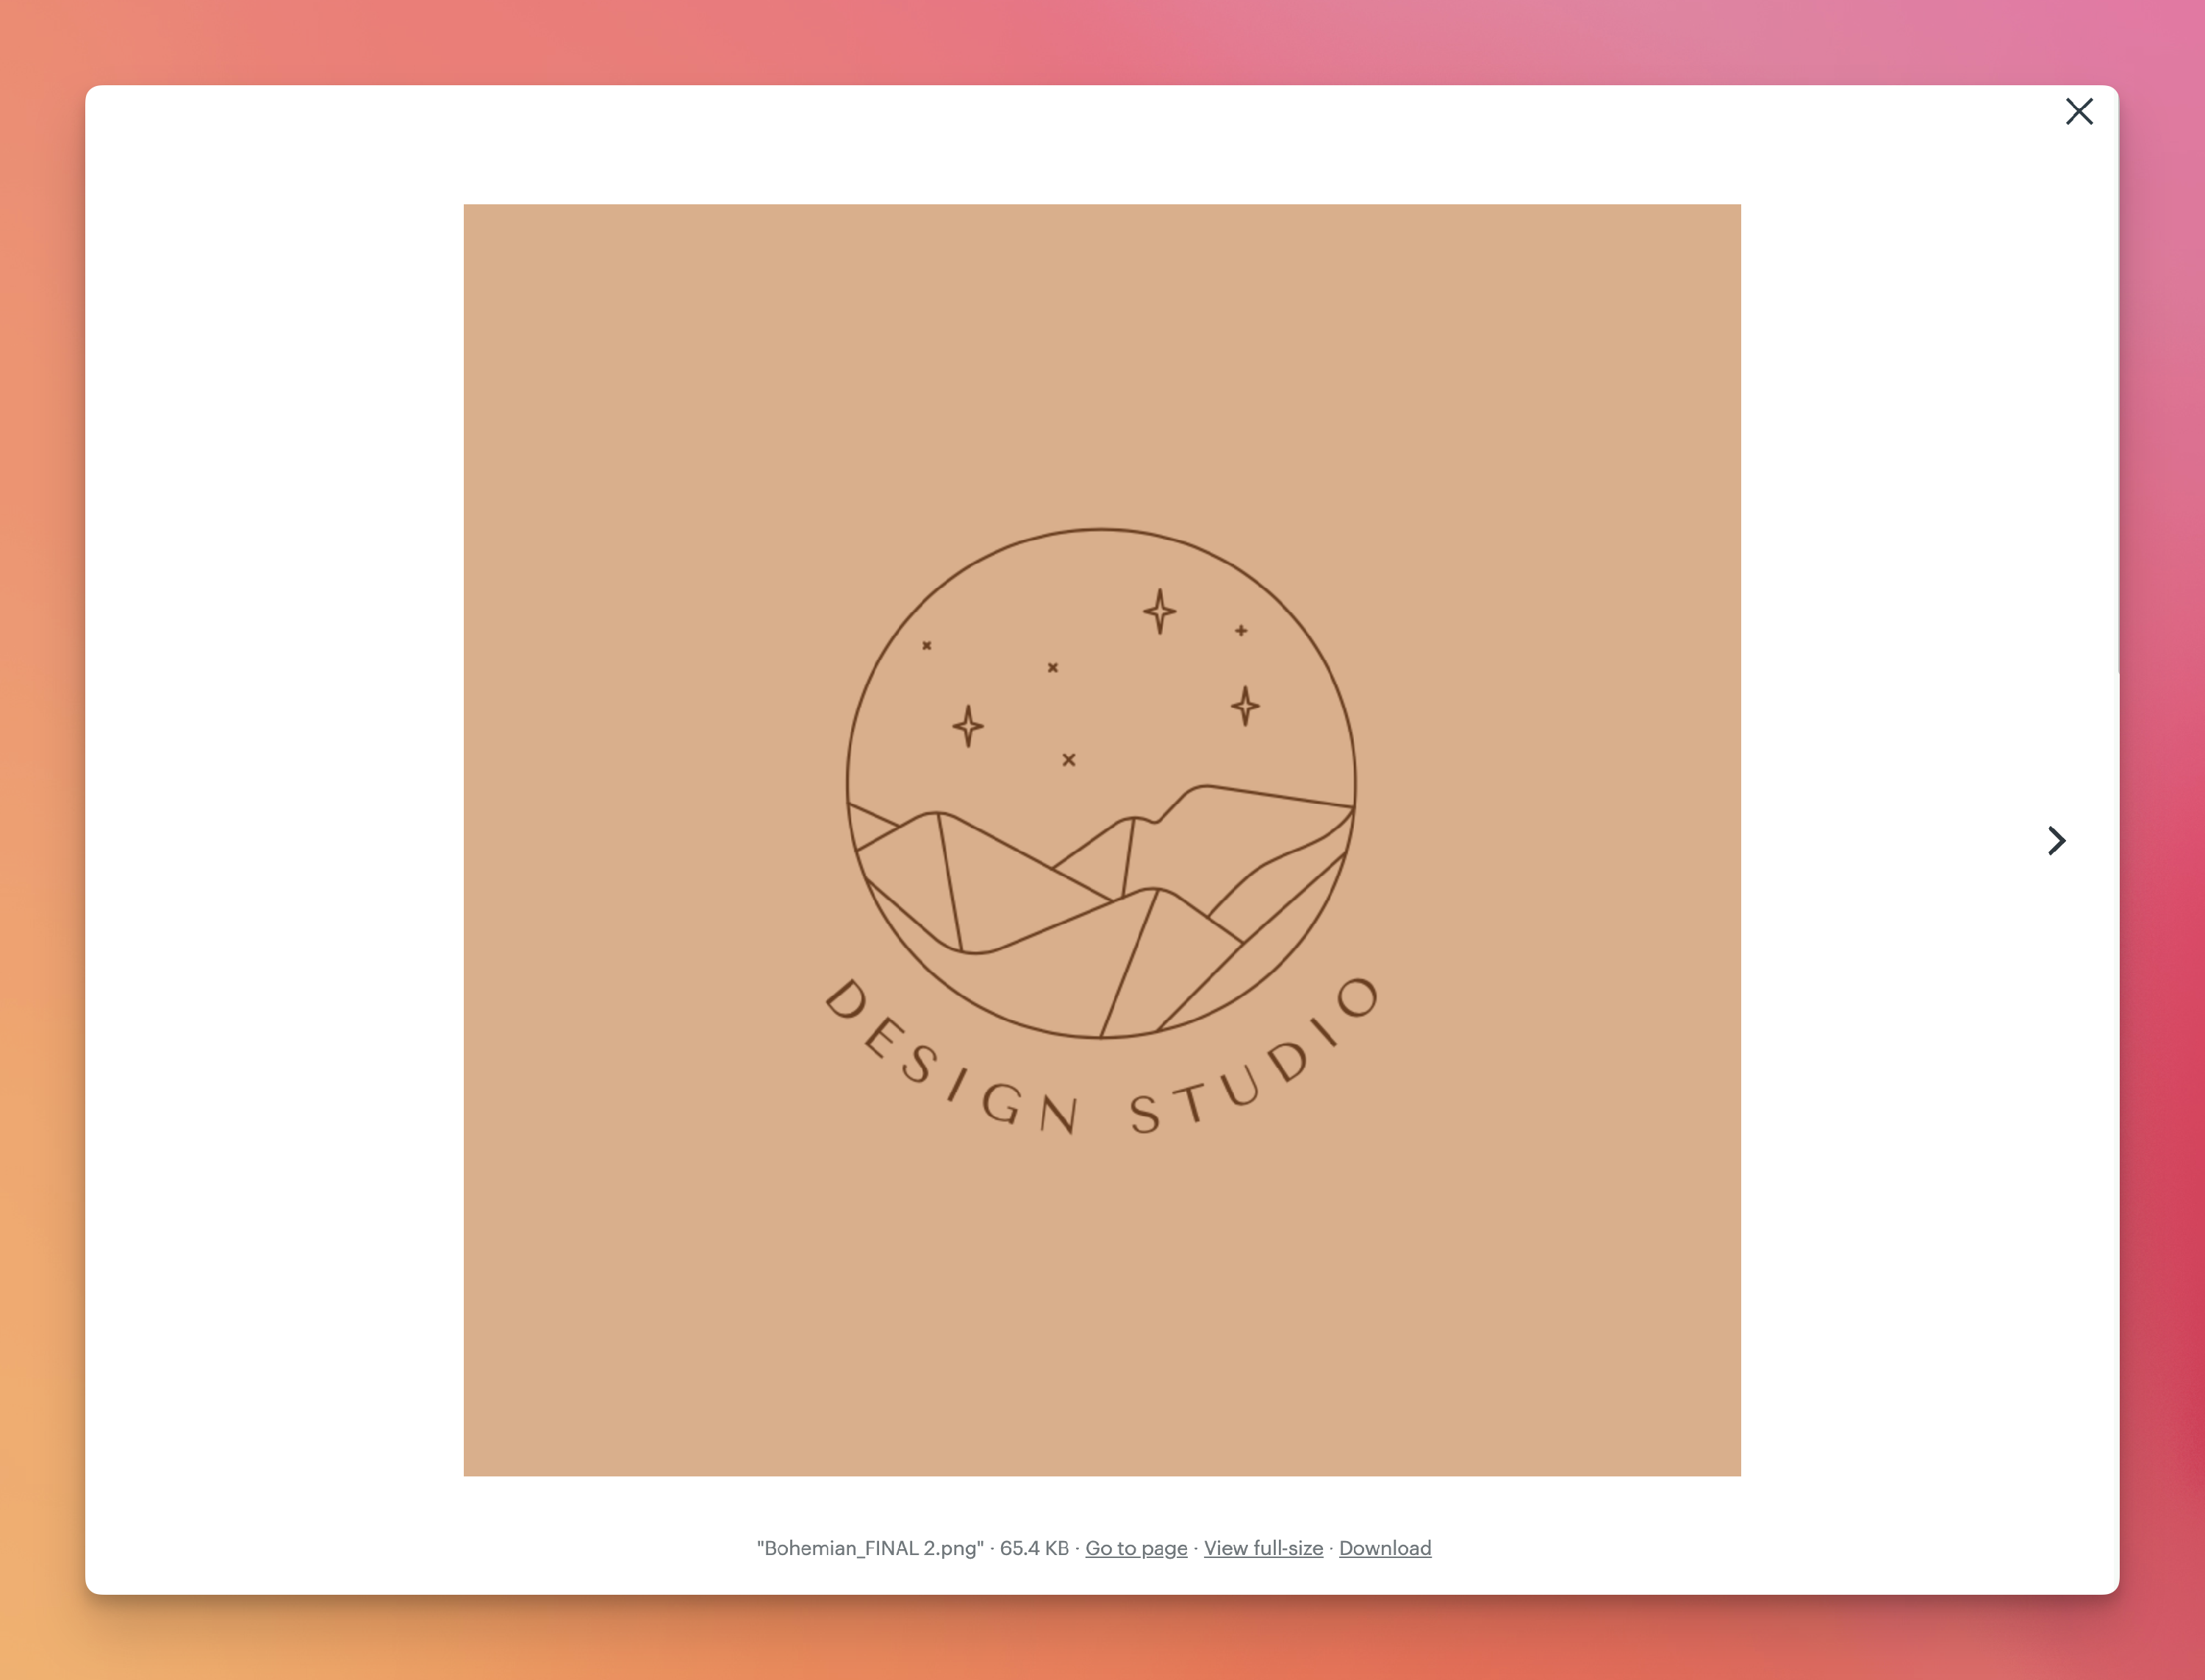
Basecamp Docs and linked cloud files open on their own page instead of in the preview.
Sharing with a public link
Share a file or document with people outside your project using a public link.
Open the file or document, click the ••• menu, then select Get a public link.

Anyone with the link can view the item without needing access to your Basecamp project.
For more details about managing public links, see Public Links.
Downloading
Download files or folders to use them outside of Basecamp.
Open a folder, click the ••• menu, then select Download this folder.

📝NOTE: Large folders may take a moment to prepare before downloading.