Organizing users with Companies and Groups
Companies organize all of the users on your Basecamp account by where they work. You'll see who works on your team, who's a contractor, and who's a client. Groups bundle non-client users together so you can add them all to a project or @mention an entire team at once.
Jump to:
Creating new companies
The company added during sign-up becomes the account’s primary company. Basecamp adds people to this company when they’re invited as someone who works at your company.
New companies are added when inviting new users to the account, or from a user’s profile on the Manage people page in Adminland.
When inviting someone from a new organization, enter their company name in the Type company/org name... field:
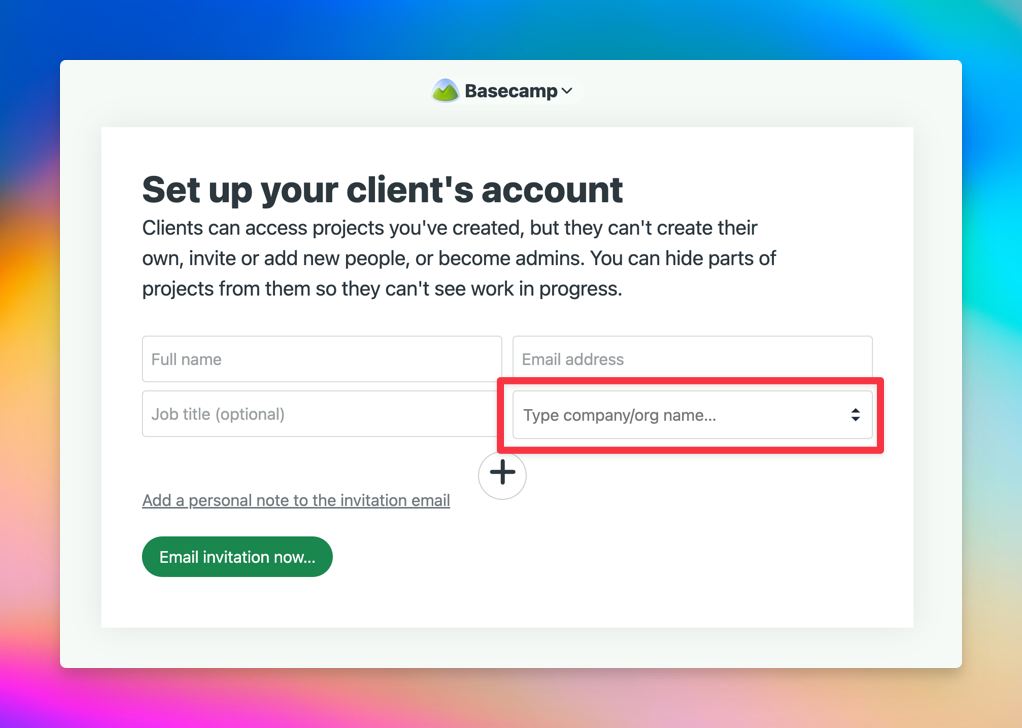
The new company will now appear as an option in the company field when inviting future users.
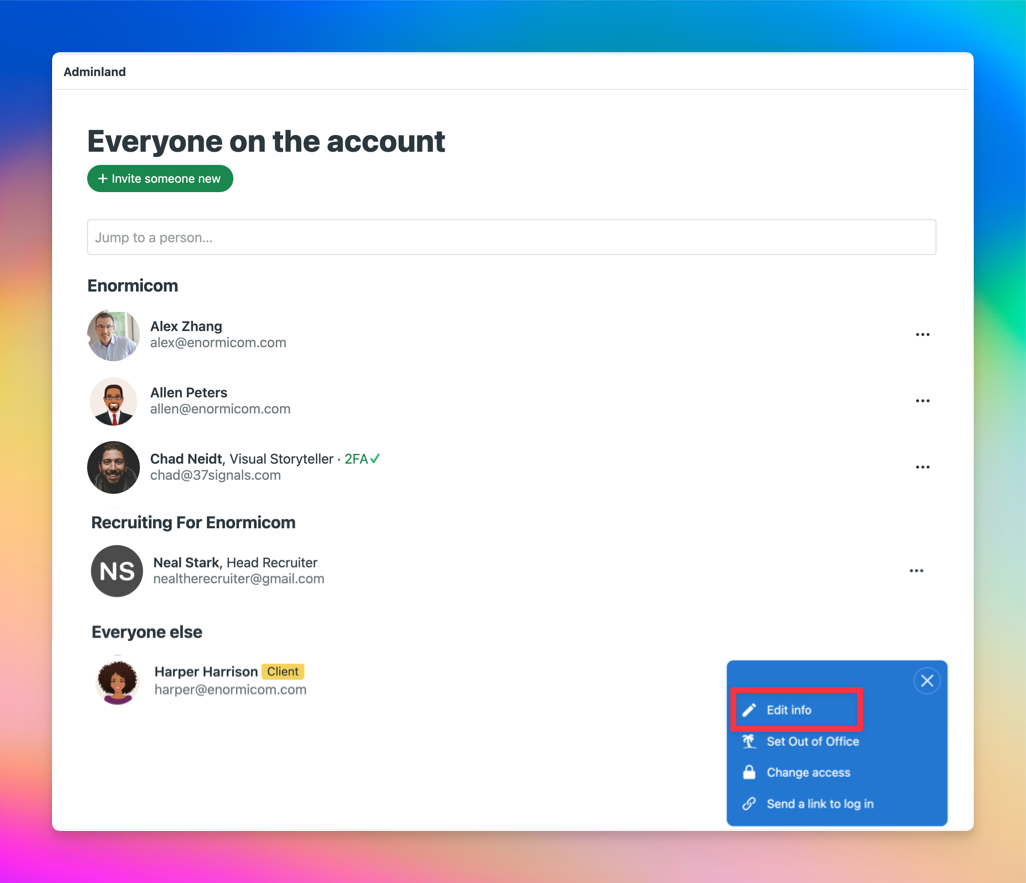
Admins and account owners can also create a new company by adding or updating an existing user's profile. From Adminland, click the Manage people option. In the list of users, click the more options menu "•••" located to the right of a user's profile and select the Edit info option:
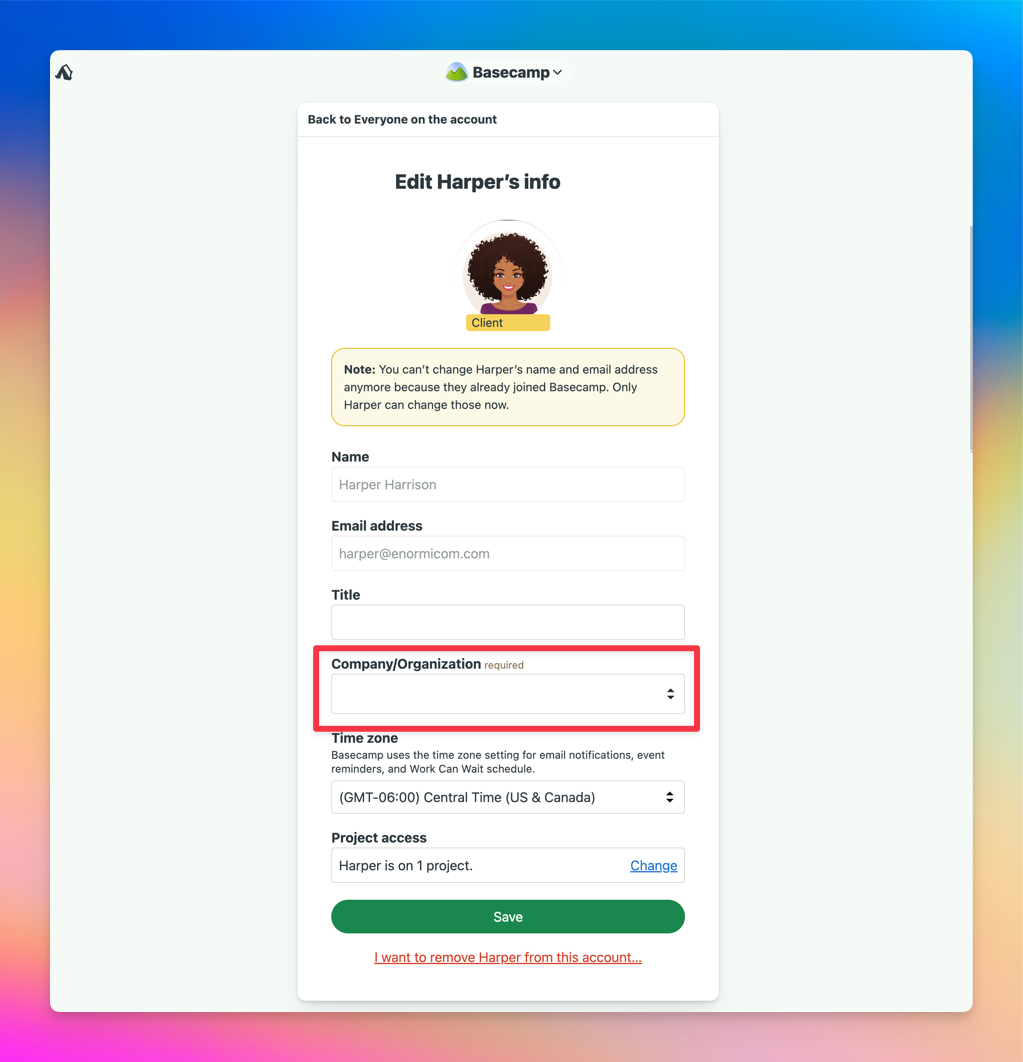
Enter the name of the company in the Company/Organization field and click the Save button:
🗒️NOTE: Folks added as someone that works at your company are automatically added to the account's primary company. To assign them to a different company, you'll need to change their user type to an Outside collaborator or Client.
Renaming or deleting a company
To rename or delete a company as an admin or owner on the account, click Adminland on the left side of the Home screen and select the Manage companies option. Find the company or organization that you'd like to rename or delete. Click the Edit button to change the company name or the trash icon to delete the company:
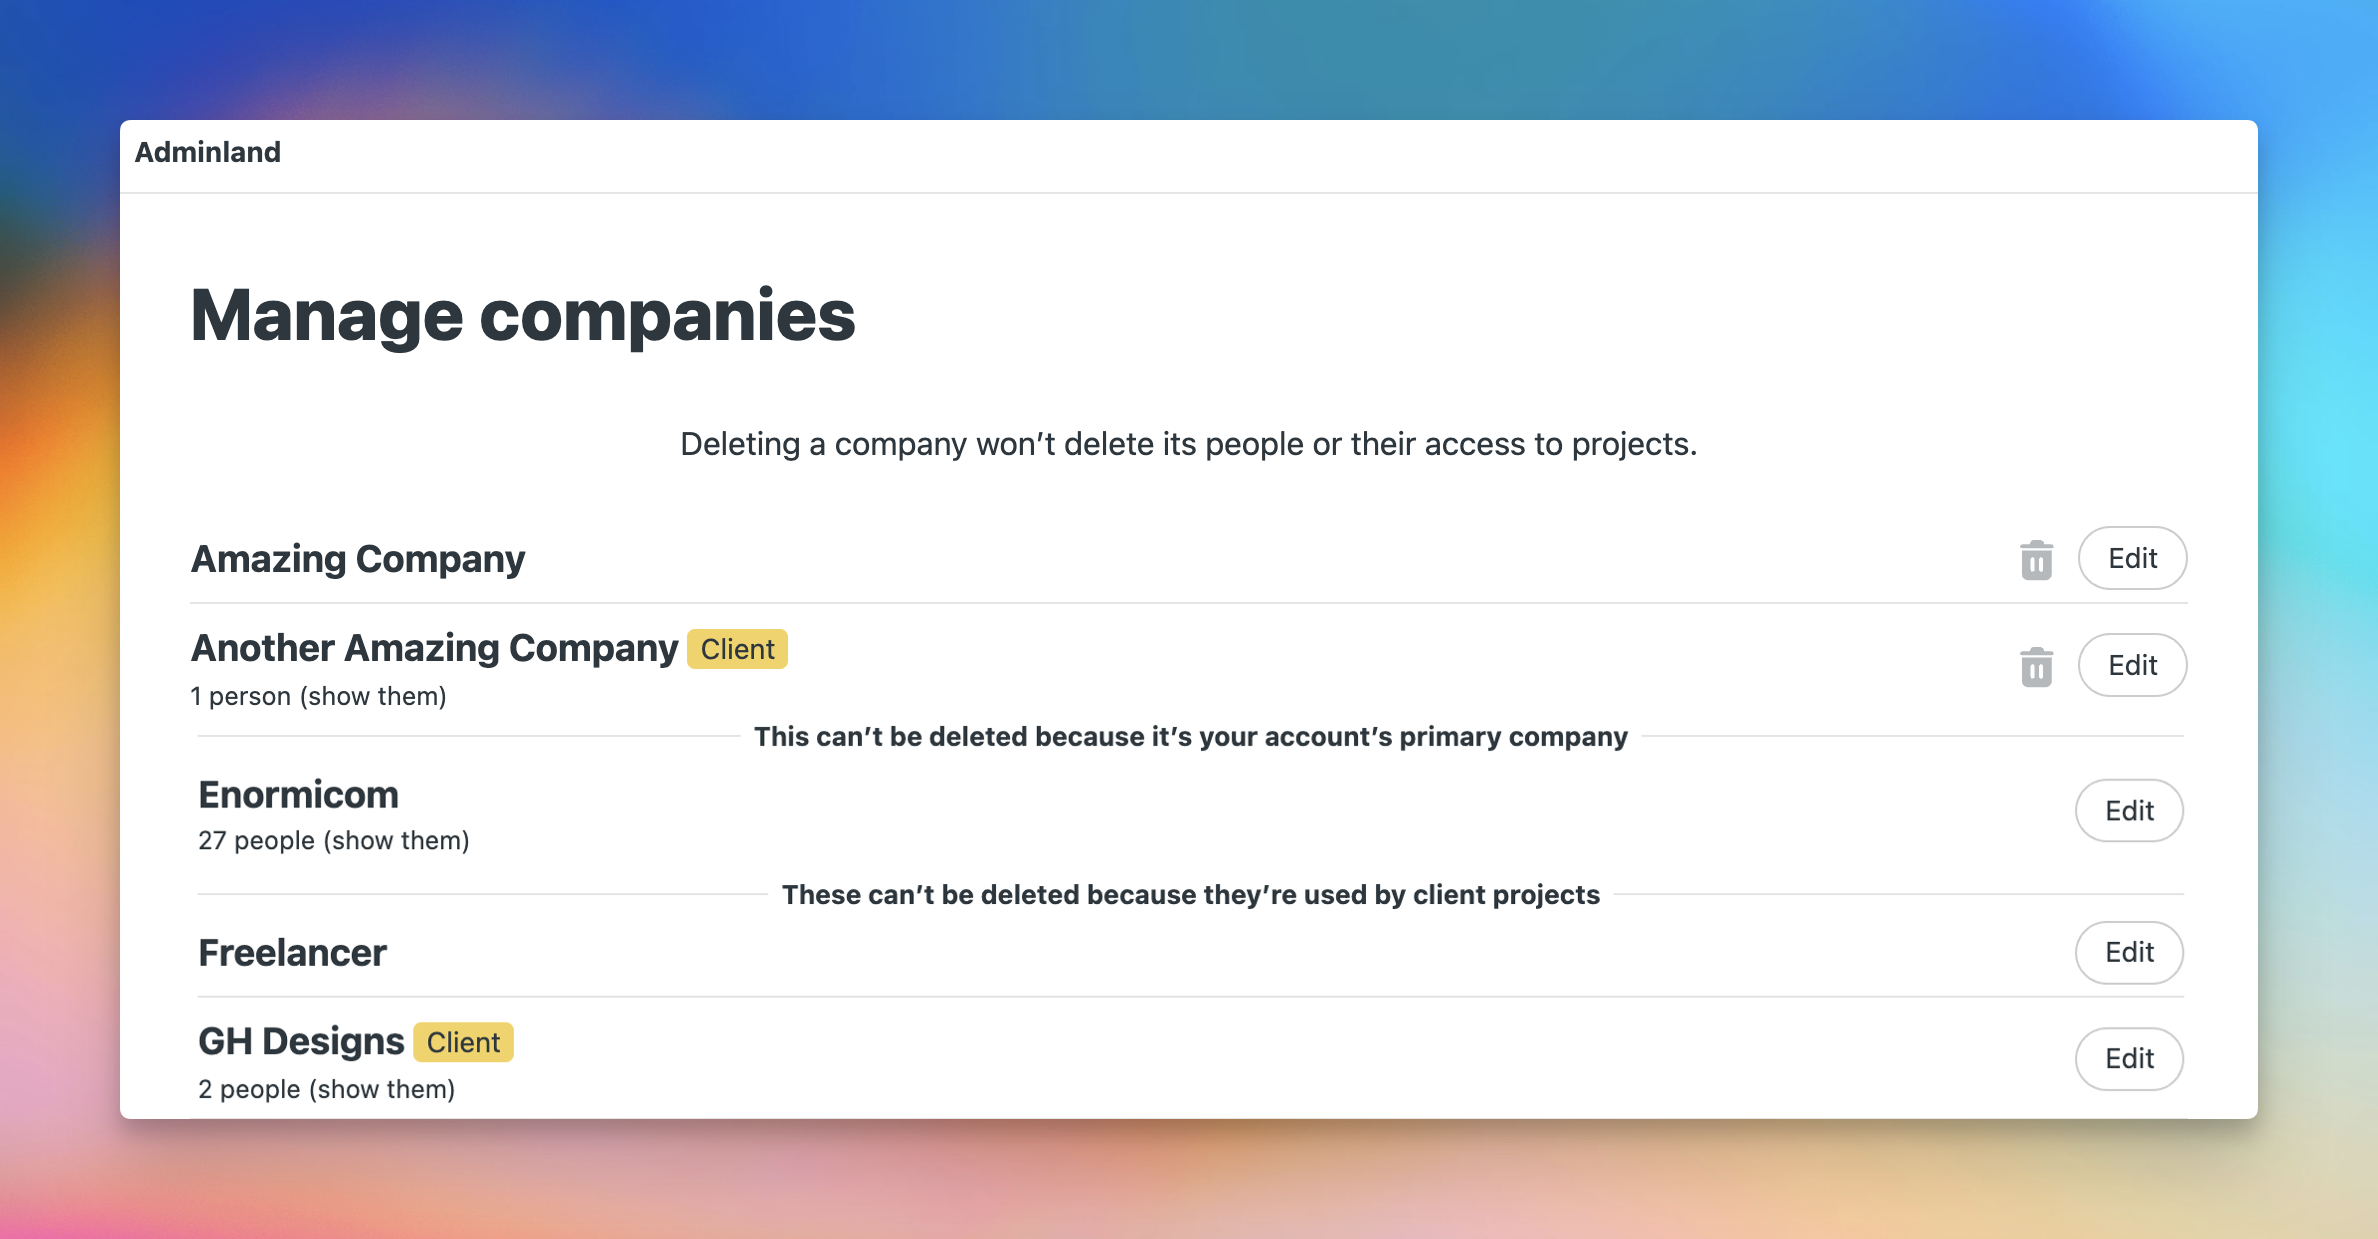
Creating a group
Groups let you @mention an entire team at once — designers, programmers, or any other set of people you work with regularly. Admins and account owners can create and manage groups from Adminland.
Click Adminland on the left side of the Home screen, then click Manage groups.
Click + New group:
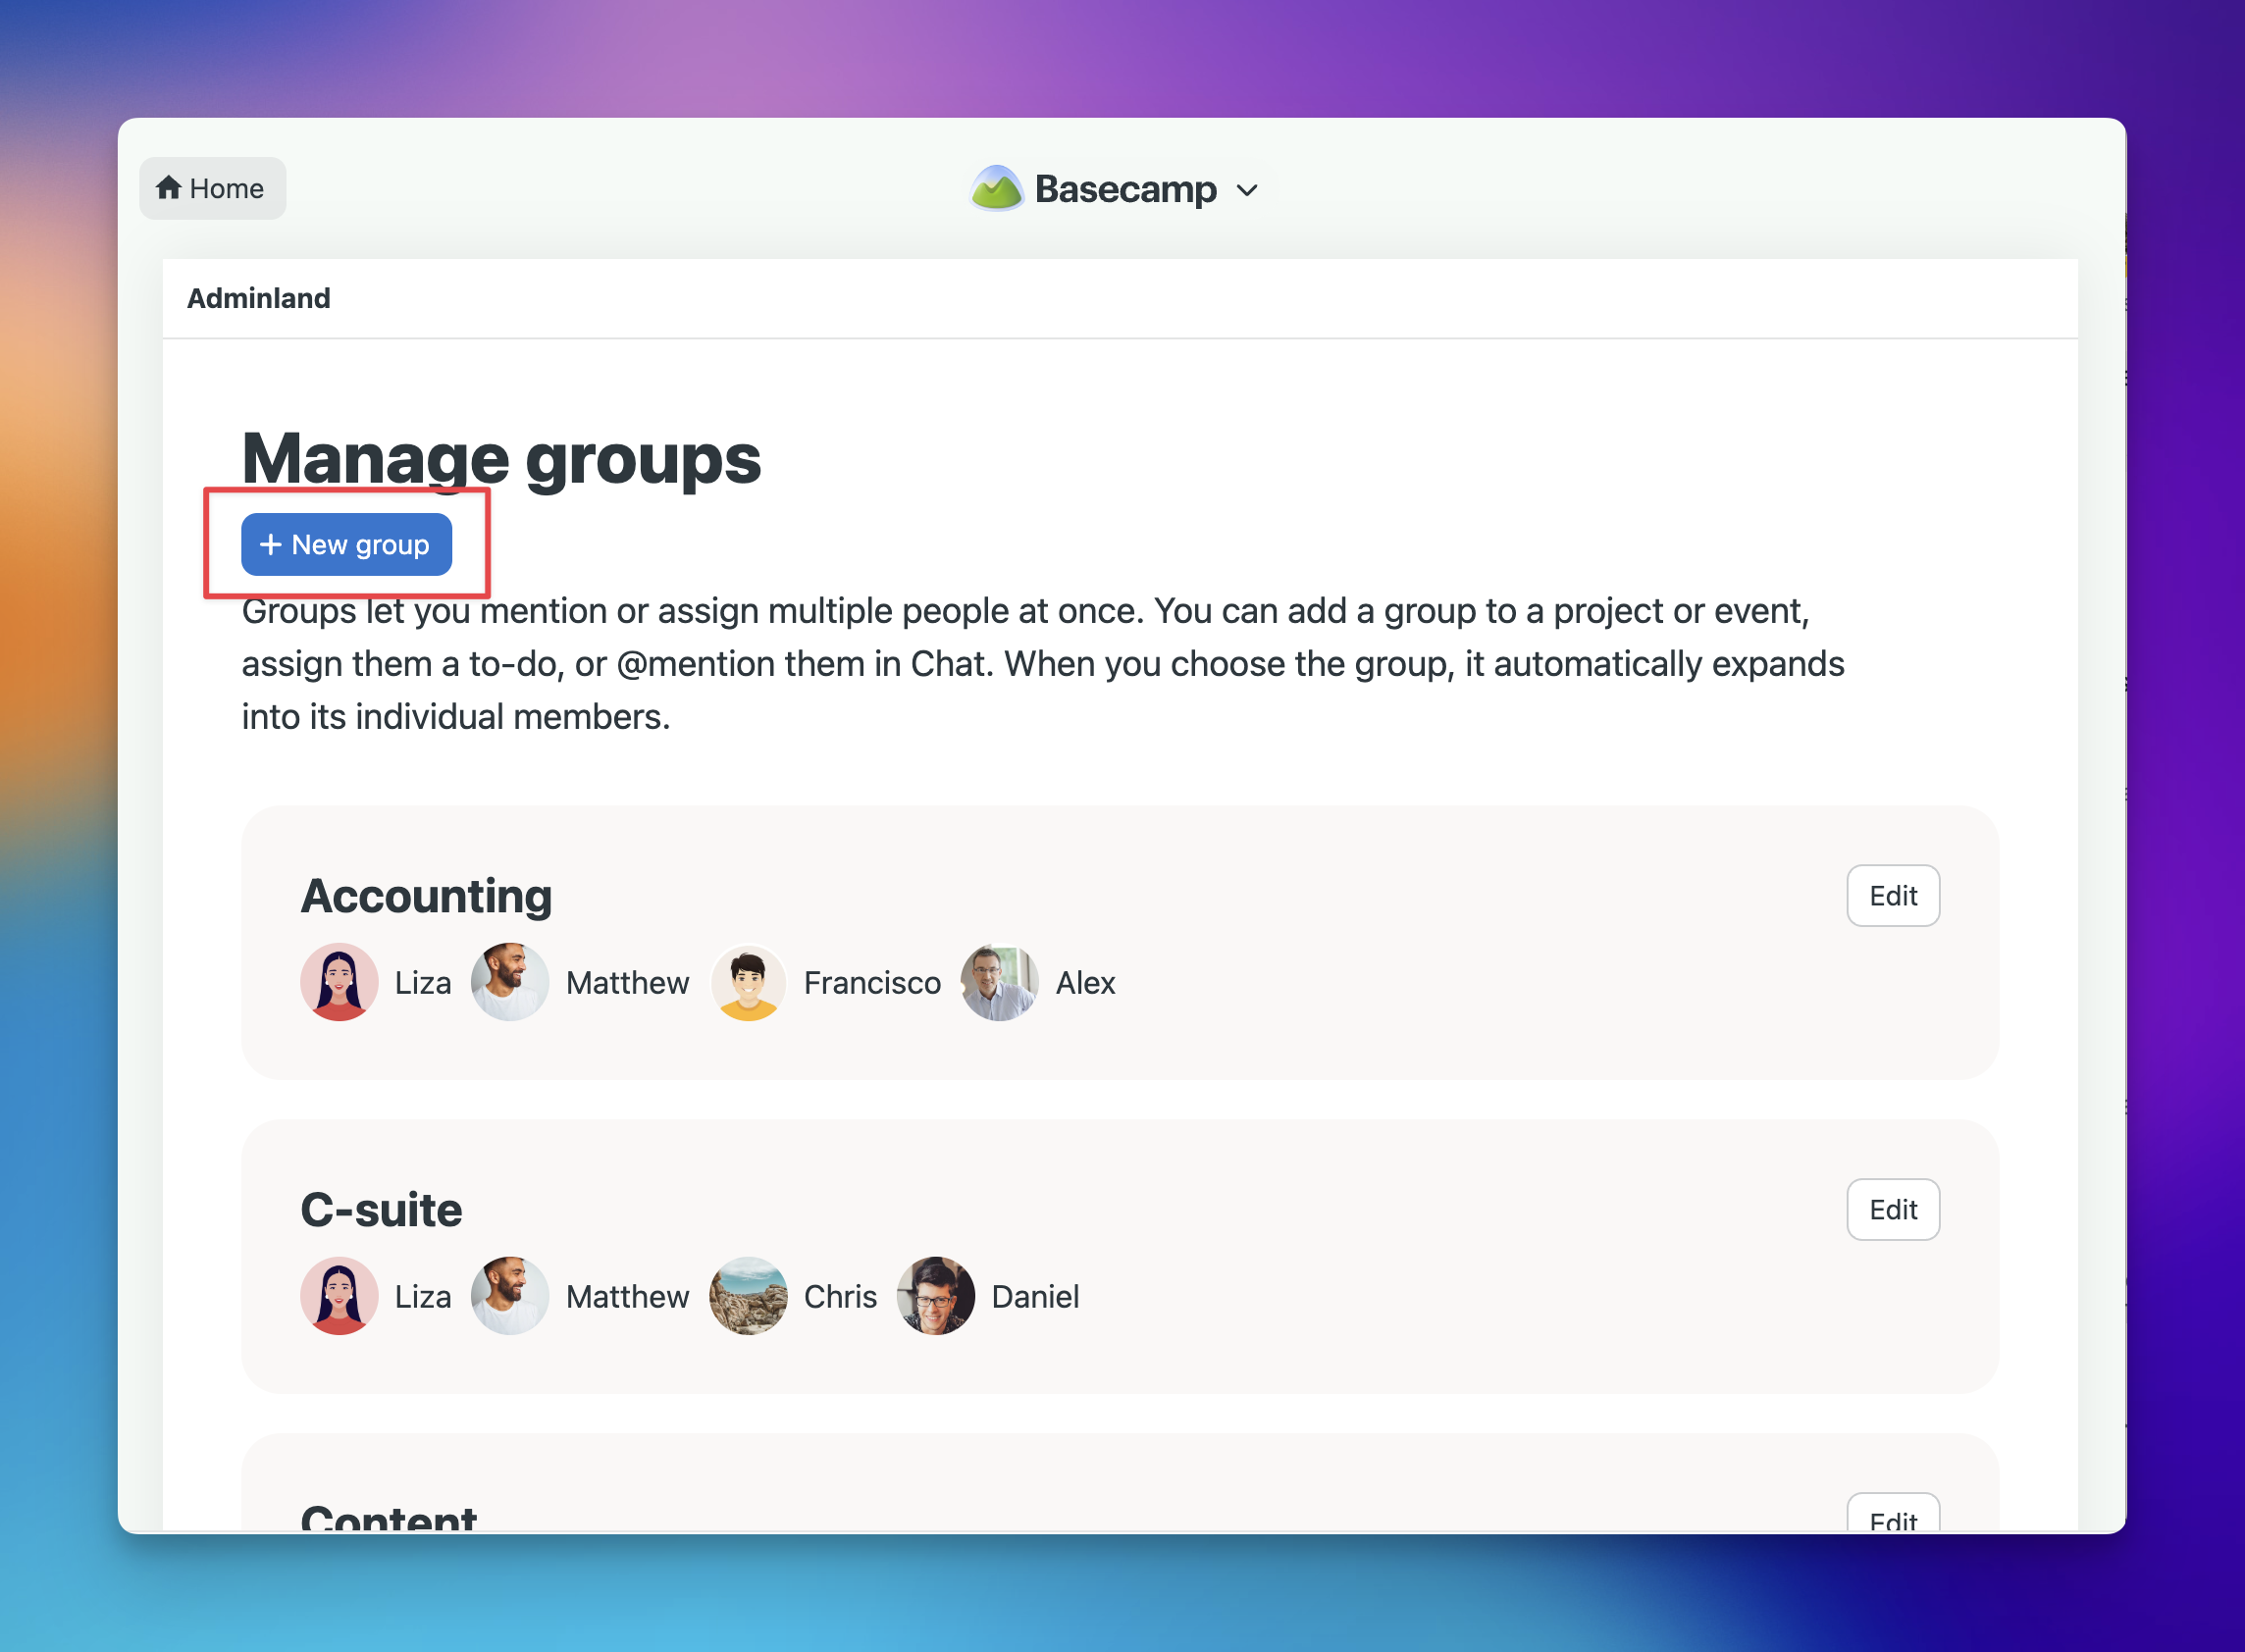
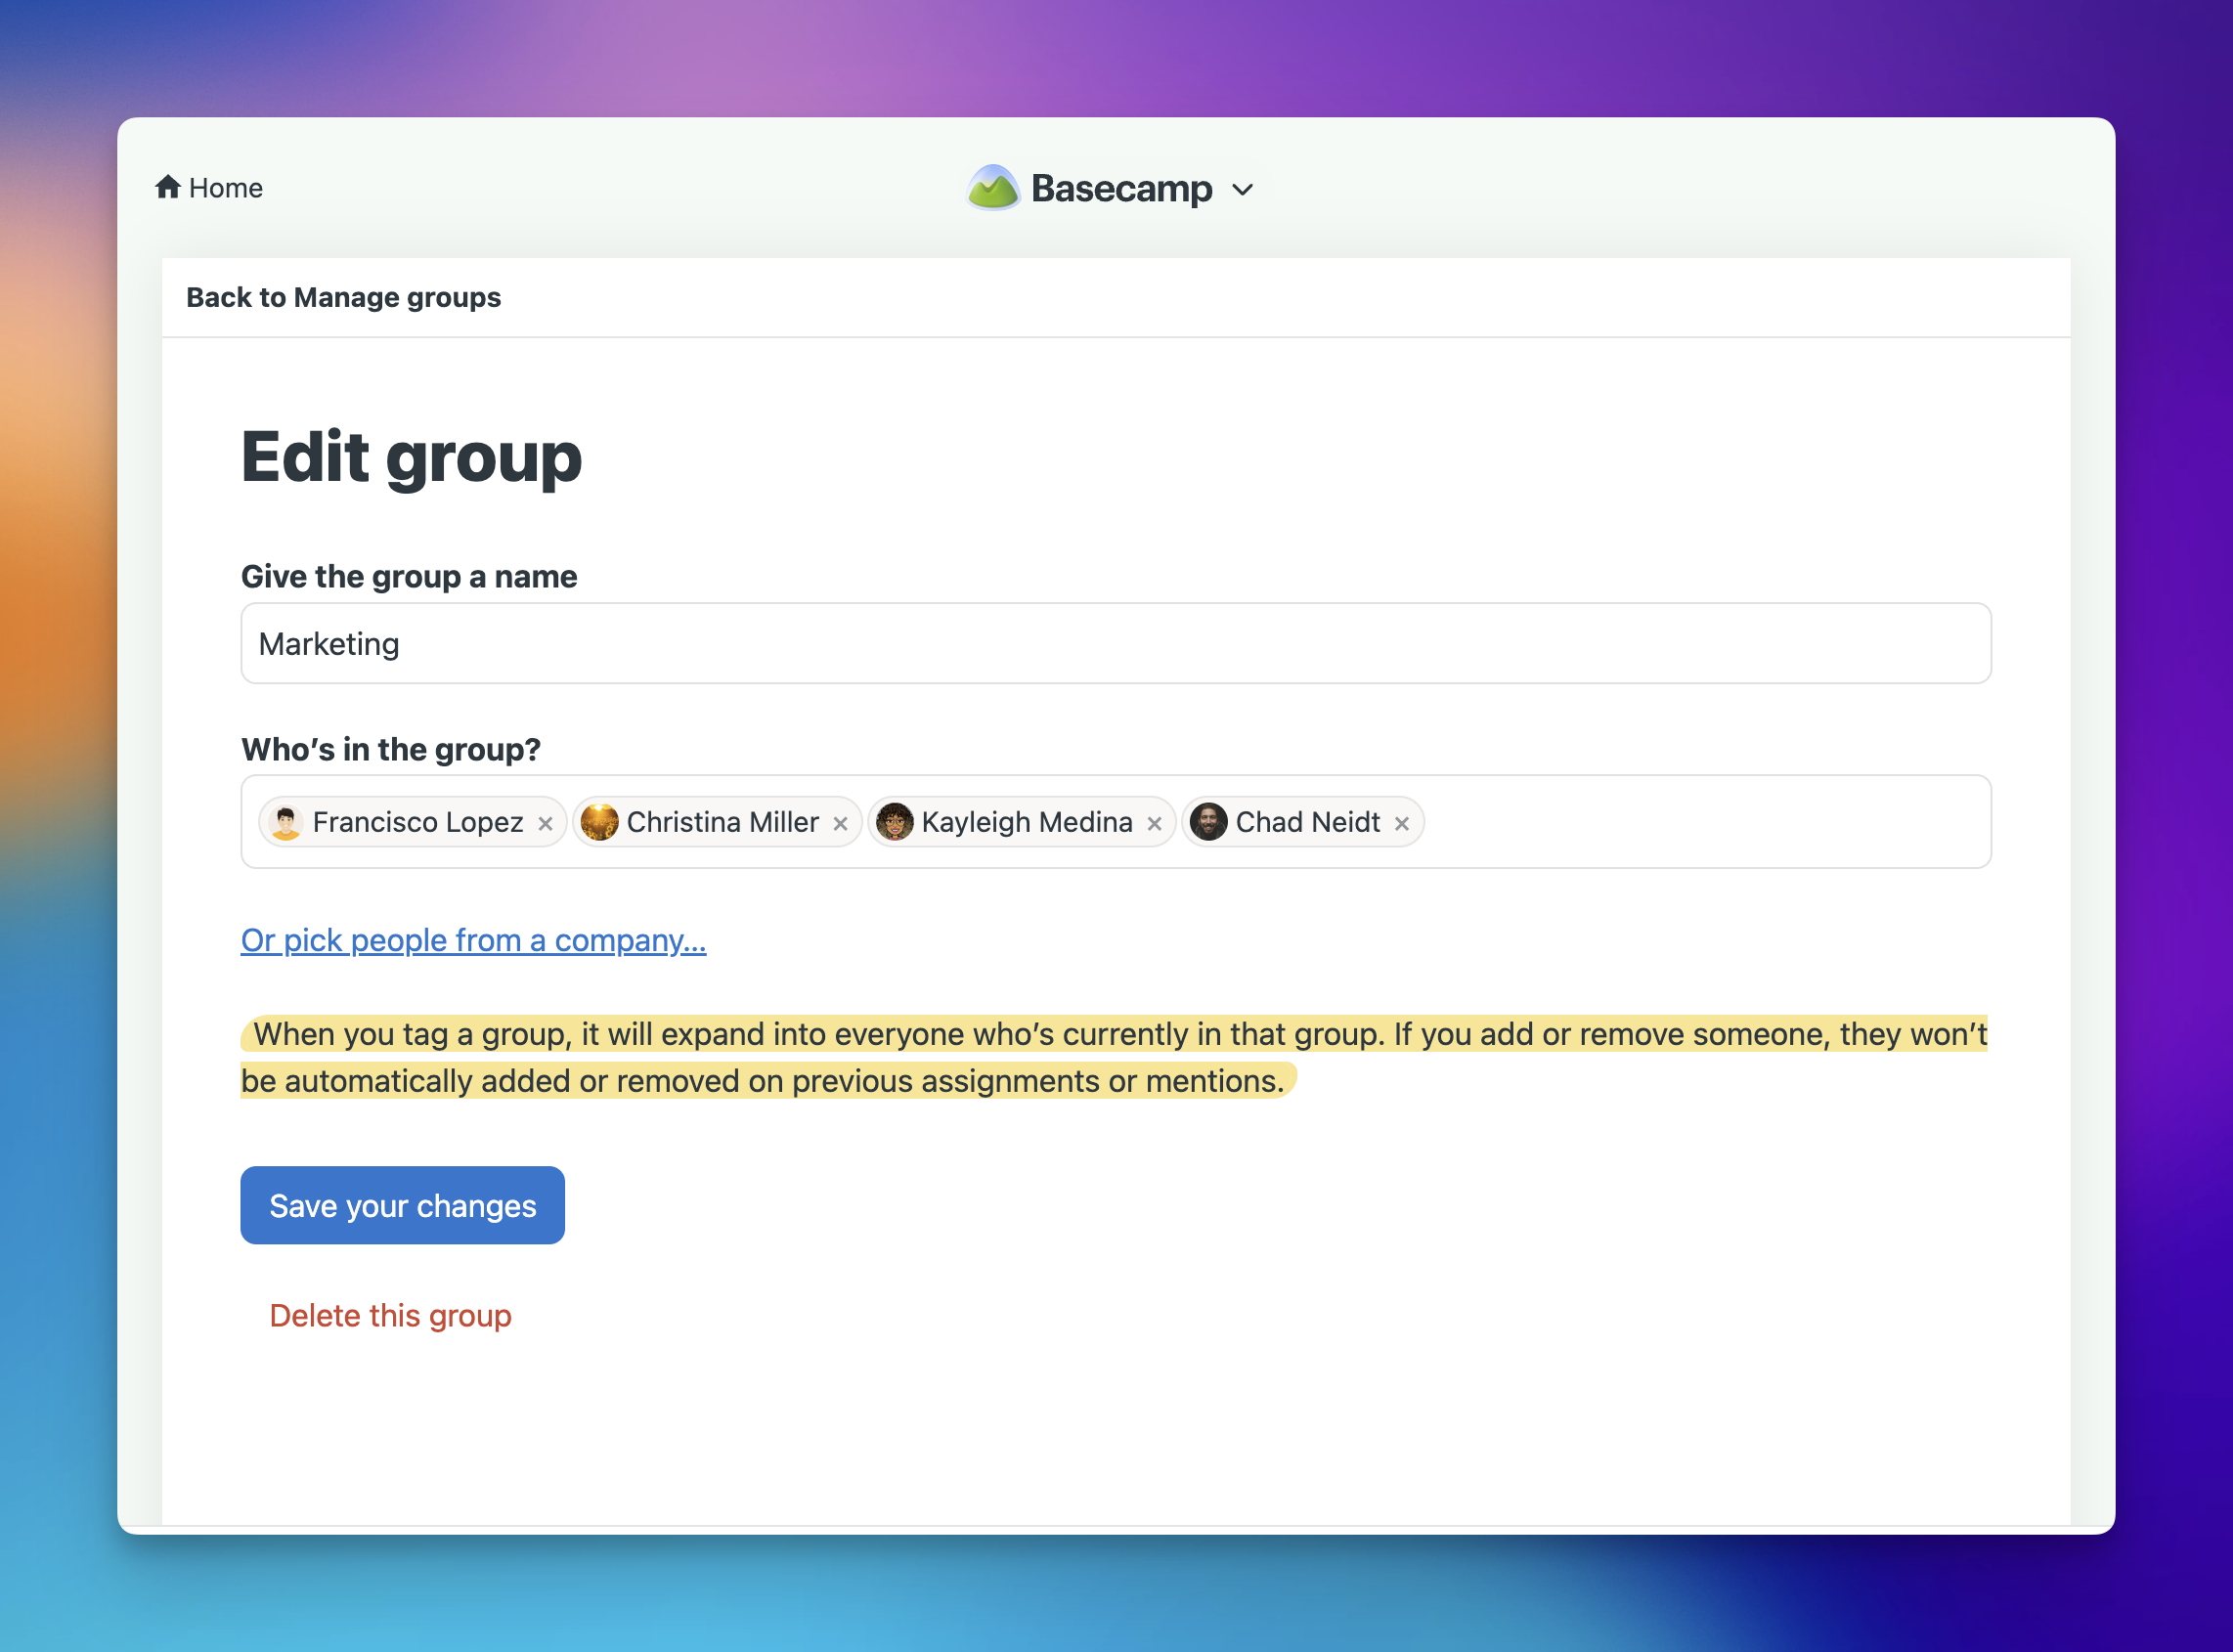
Give the group a name, then add the non-client members you want to include. Click Save when you're done.
Editing or deleting a group
To add or remove members, or to delete a group, go to Adminland → Manage groups. Click the group name to open it and make changes, or click the trash icon to delete it.