
Working with Clients
Your clients deserve a great Basecamp experience, so bring them directly into your projects. They can see messages, comment on work, complete to-dos, and collaborate using the same tools your team uses. The difference is that you control exactly what they see in your project. Everything in a client project is private to your team by default, and you decide what to make visible.
Jump to:
Adding clients to a project
Click the People icon at the top left of a project. On the "Who can see this project" page, click the Clients tab. Type a client's name on the right side of the page, or click "pick people from a company" to browse by organization. You can add a company name and an optional note with the invite.
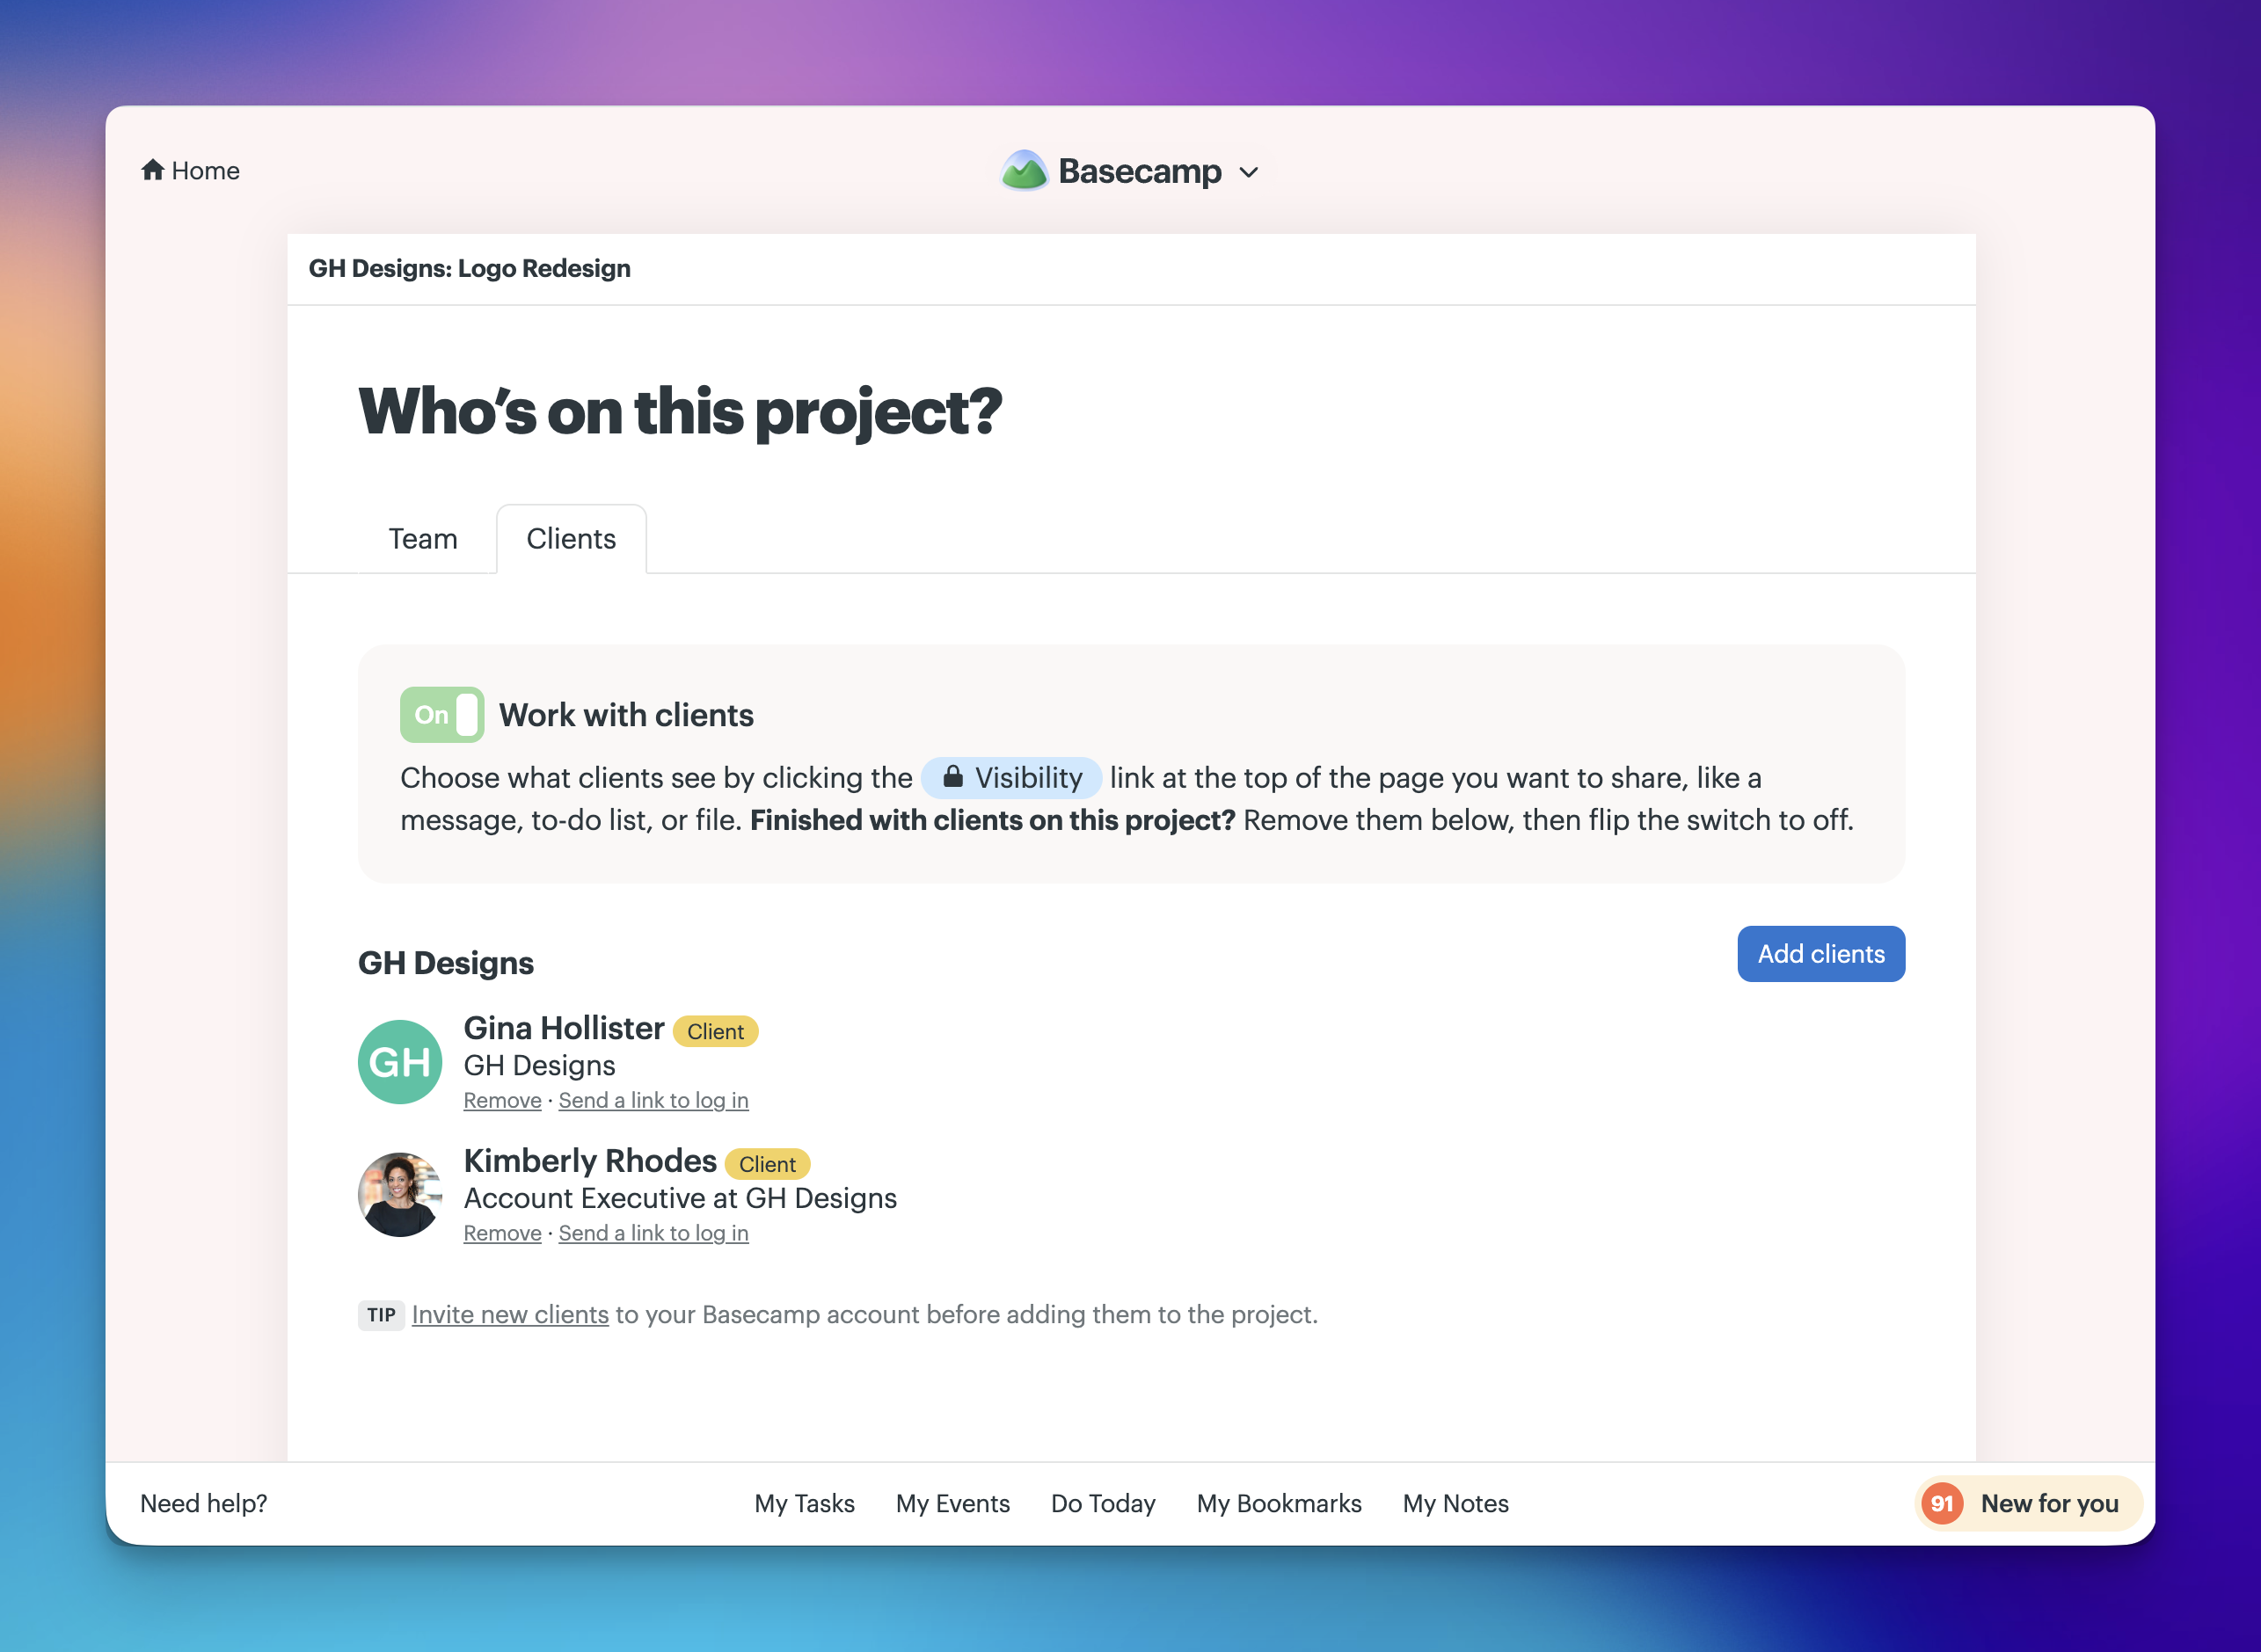
Click "Send invites" when you're done.
NOTE: Projects created from templates will have "Work with clients" toggled on by default and will retain the visibility settings from the template.
Removing clients from a project
To remove an individual client user, click the People icon at the top left of the project, open the Clients tab, click the ••• menu next to their name, and choose "Remove." They lose access immediately and won't be notified.
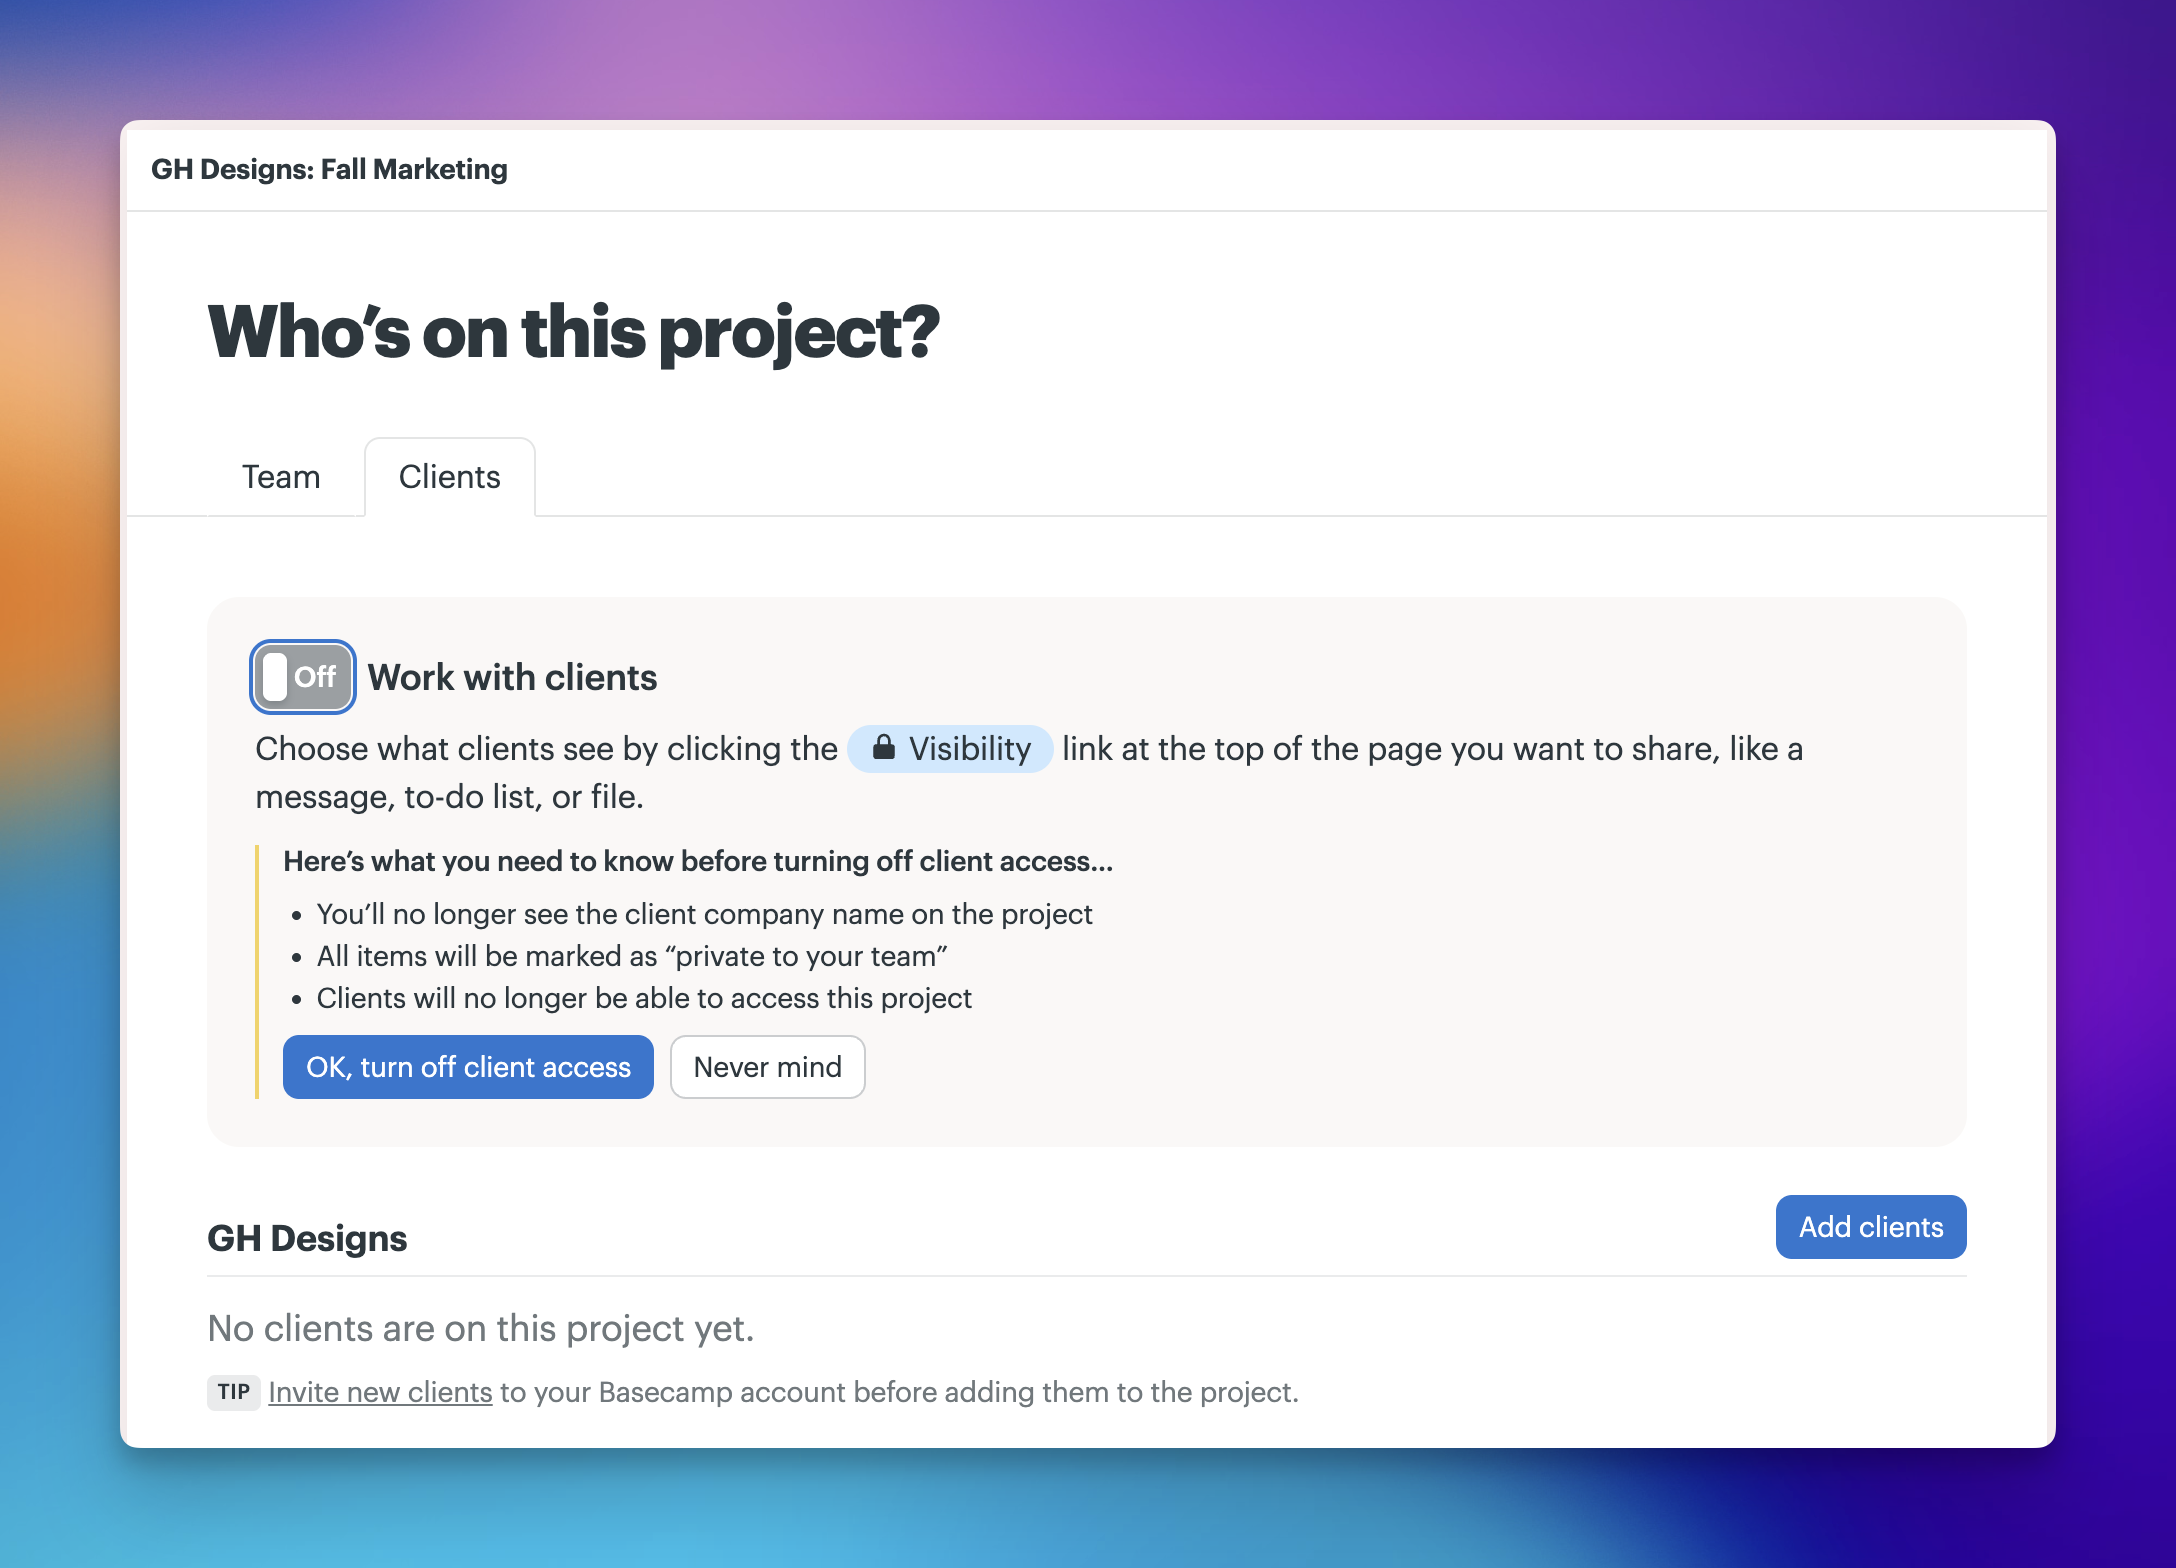
To remove an entire client company, remove each individual client user first. Once the last client is removed, you'll see an option to remove the company from the project. When you do, the following happens:
- All items previously visible to the client switch back to private
- Visibility badges are no longer shown on project items
- The client company no longer appears on the project
- You can re-invite the client to the project at any time
Changing a client's company
If a client was added under the wrong company name, you can update it. Click the People icon, open the Clients tab, and click the current company name to the left of the "Add clients" button. Remove the existing name with the X, type the new company name, and click "Save changes."
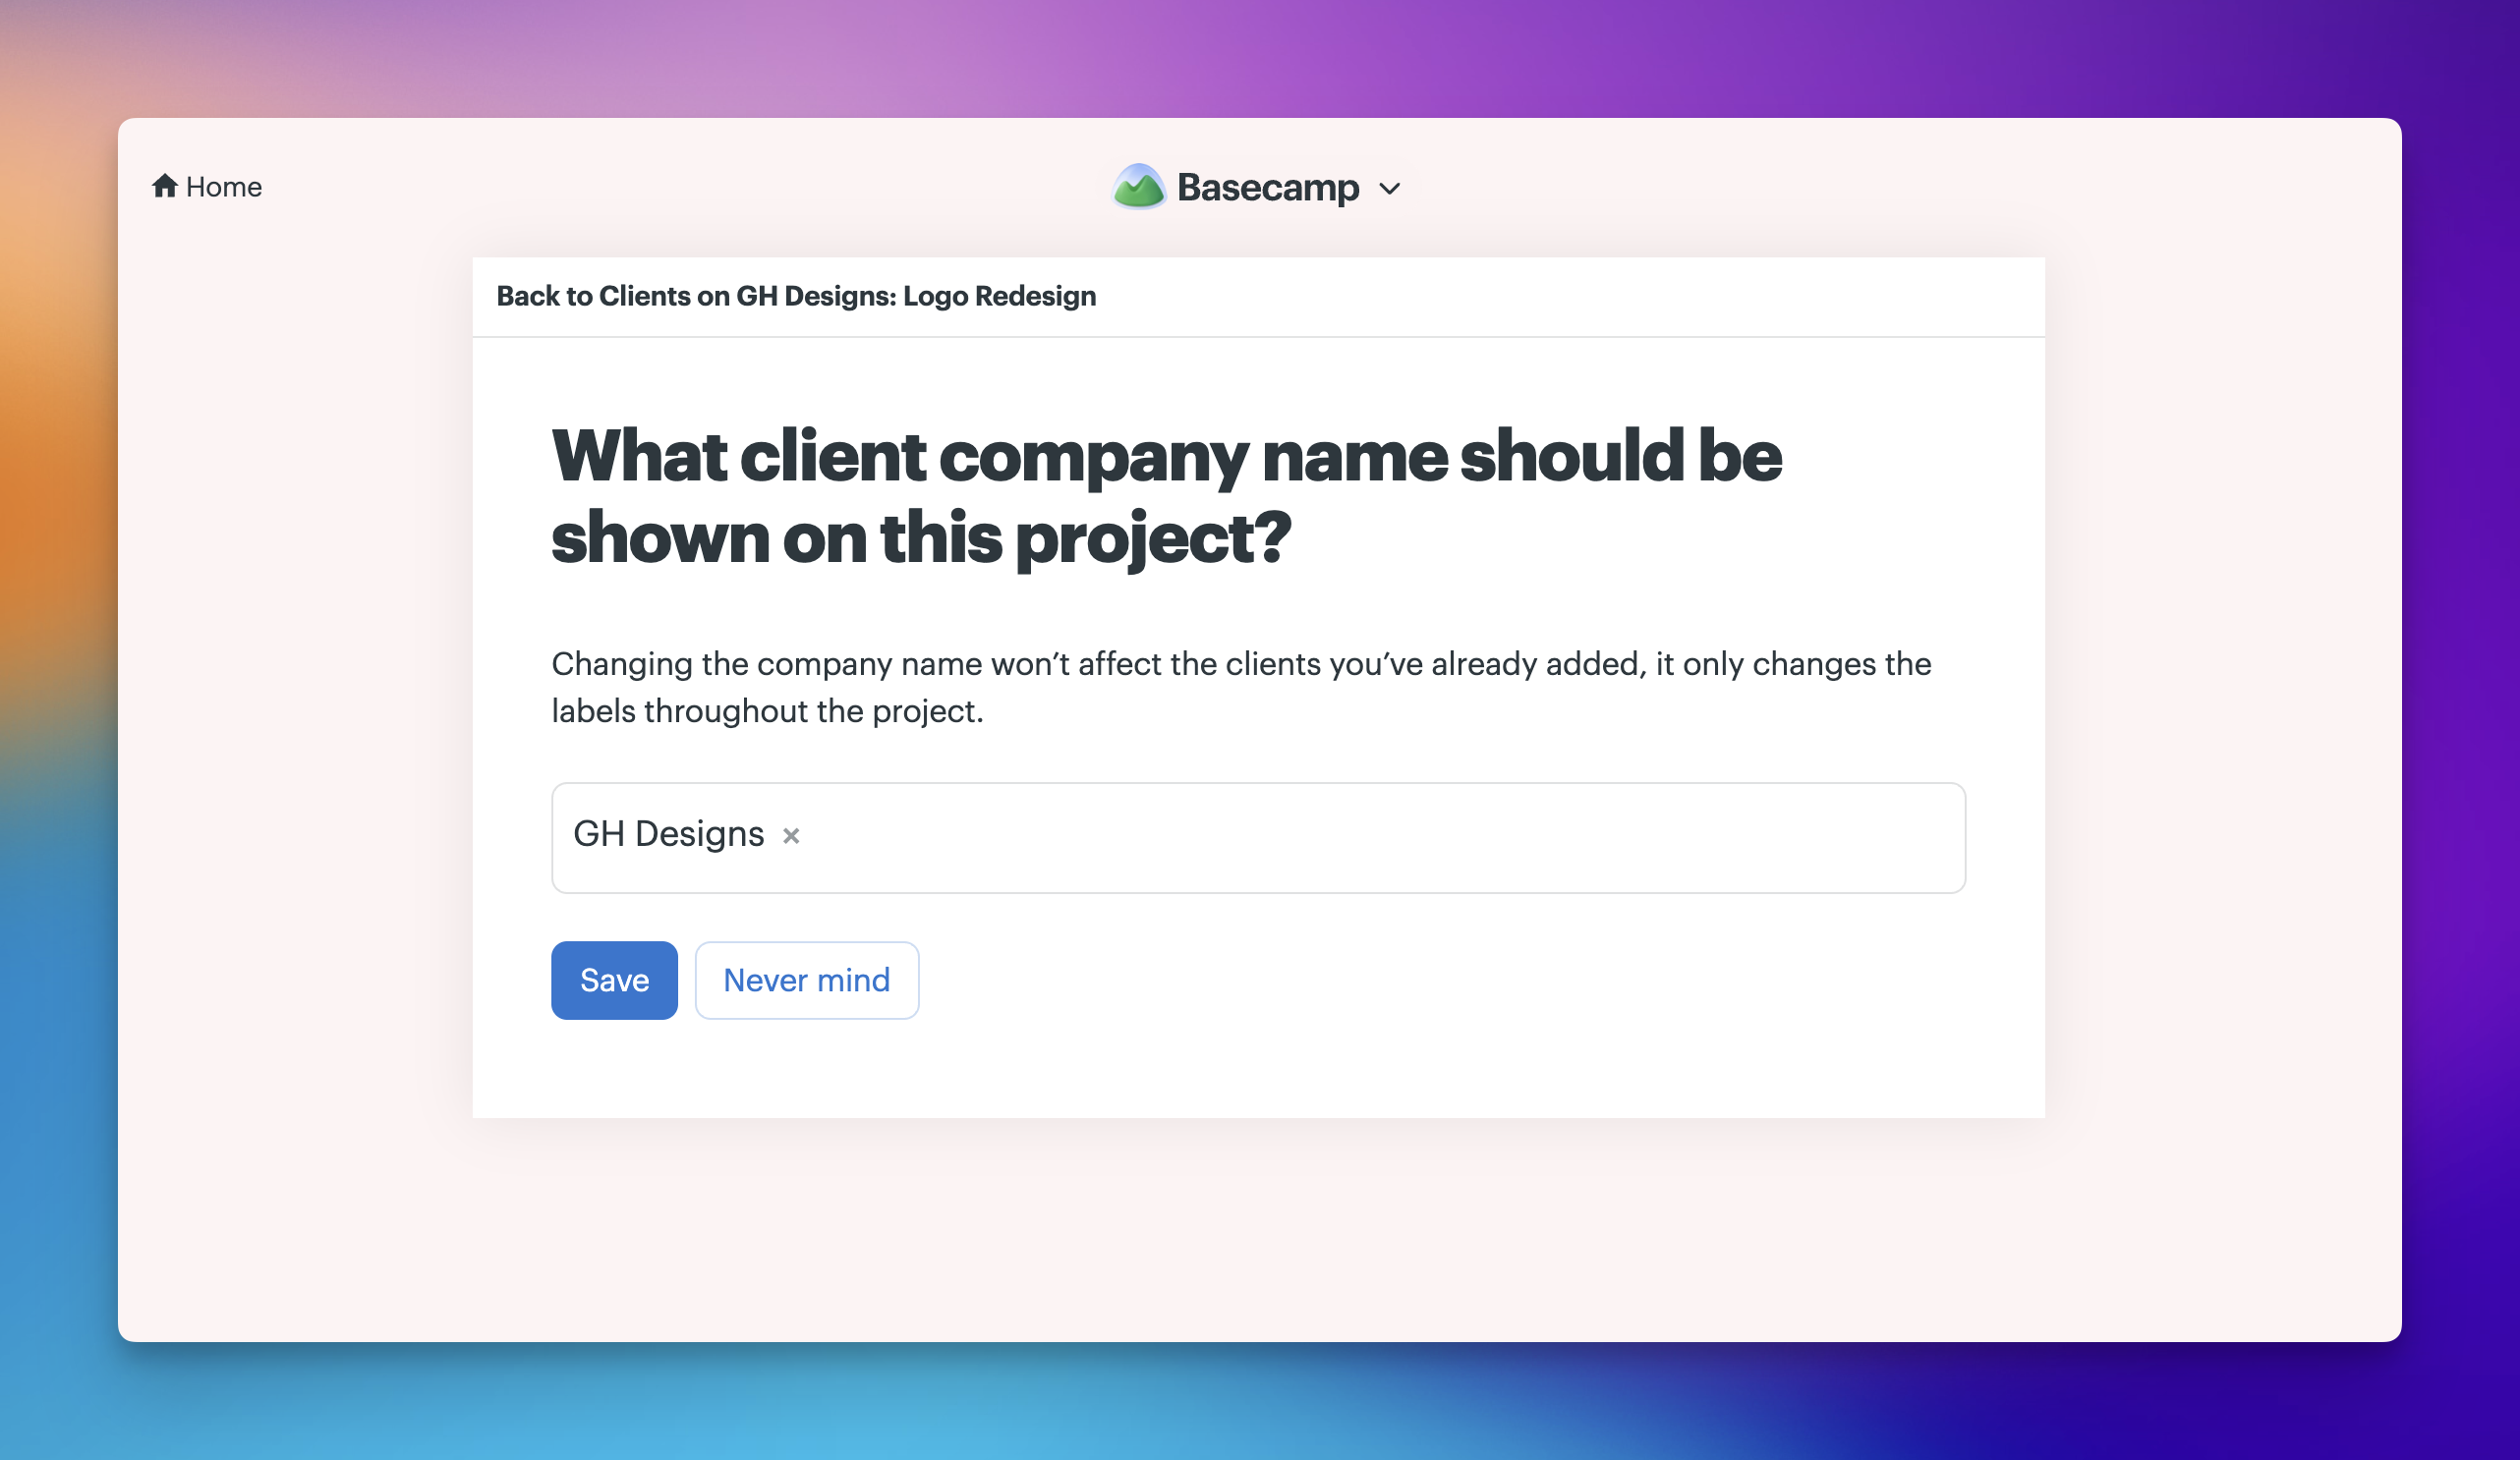
NOTE: Changing the company name only updates the label throughout the project. It doesn't affect the client users already added.